Scheduling A Facebook Stream With Switcher
Scheduling a stream is very similar to setting up a regular livestream, but instead of going live immediately, you will set a specific start time in the future. This is a great feature for planned streams where you want to increase the viewership and access by promoting the event ahead of time.
In this article:
Scheduled Facebook Stream Overview
-
A Facebook livestream (or any livestream created with Switcher) can be scheduled up to one year prior to the start time.
-
Scheduling the stream allows you to share the link before going live.
-
The livestream does not begin broadcasting until the scheduled time.
-
The start time must be more than ten minutes from when you are scheduling the stream.
Scheduling A Facebook Stream With Switcher
- In the Outputs tab, tap on the orange “New Livestream” button to create a new stream.
- If there is an event already queued up in the Outputs tab, firs tab "Change" to see the option to create a new livestream.
-
You’ll see several options for Destinations. Select "Facebook", and sign into it if needed.
You’ll now see it listed as a chosen option on the My Destinations screen. Tap the orange “Next” button at the bottom of the screen if you’re all set, or tap on a second destination if you wish to simultaneously stream to multiple destinations. You can tap the orange “Next” button when you’ve selected all of the destinations required.
Now, it’s time to set up your event on the appropriately titled “Livestream Details” screen.
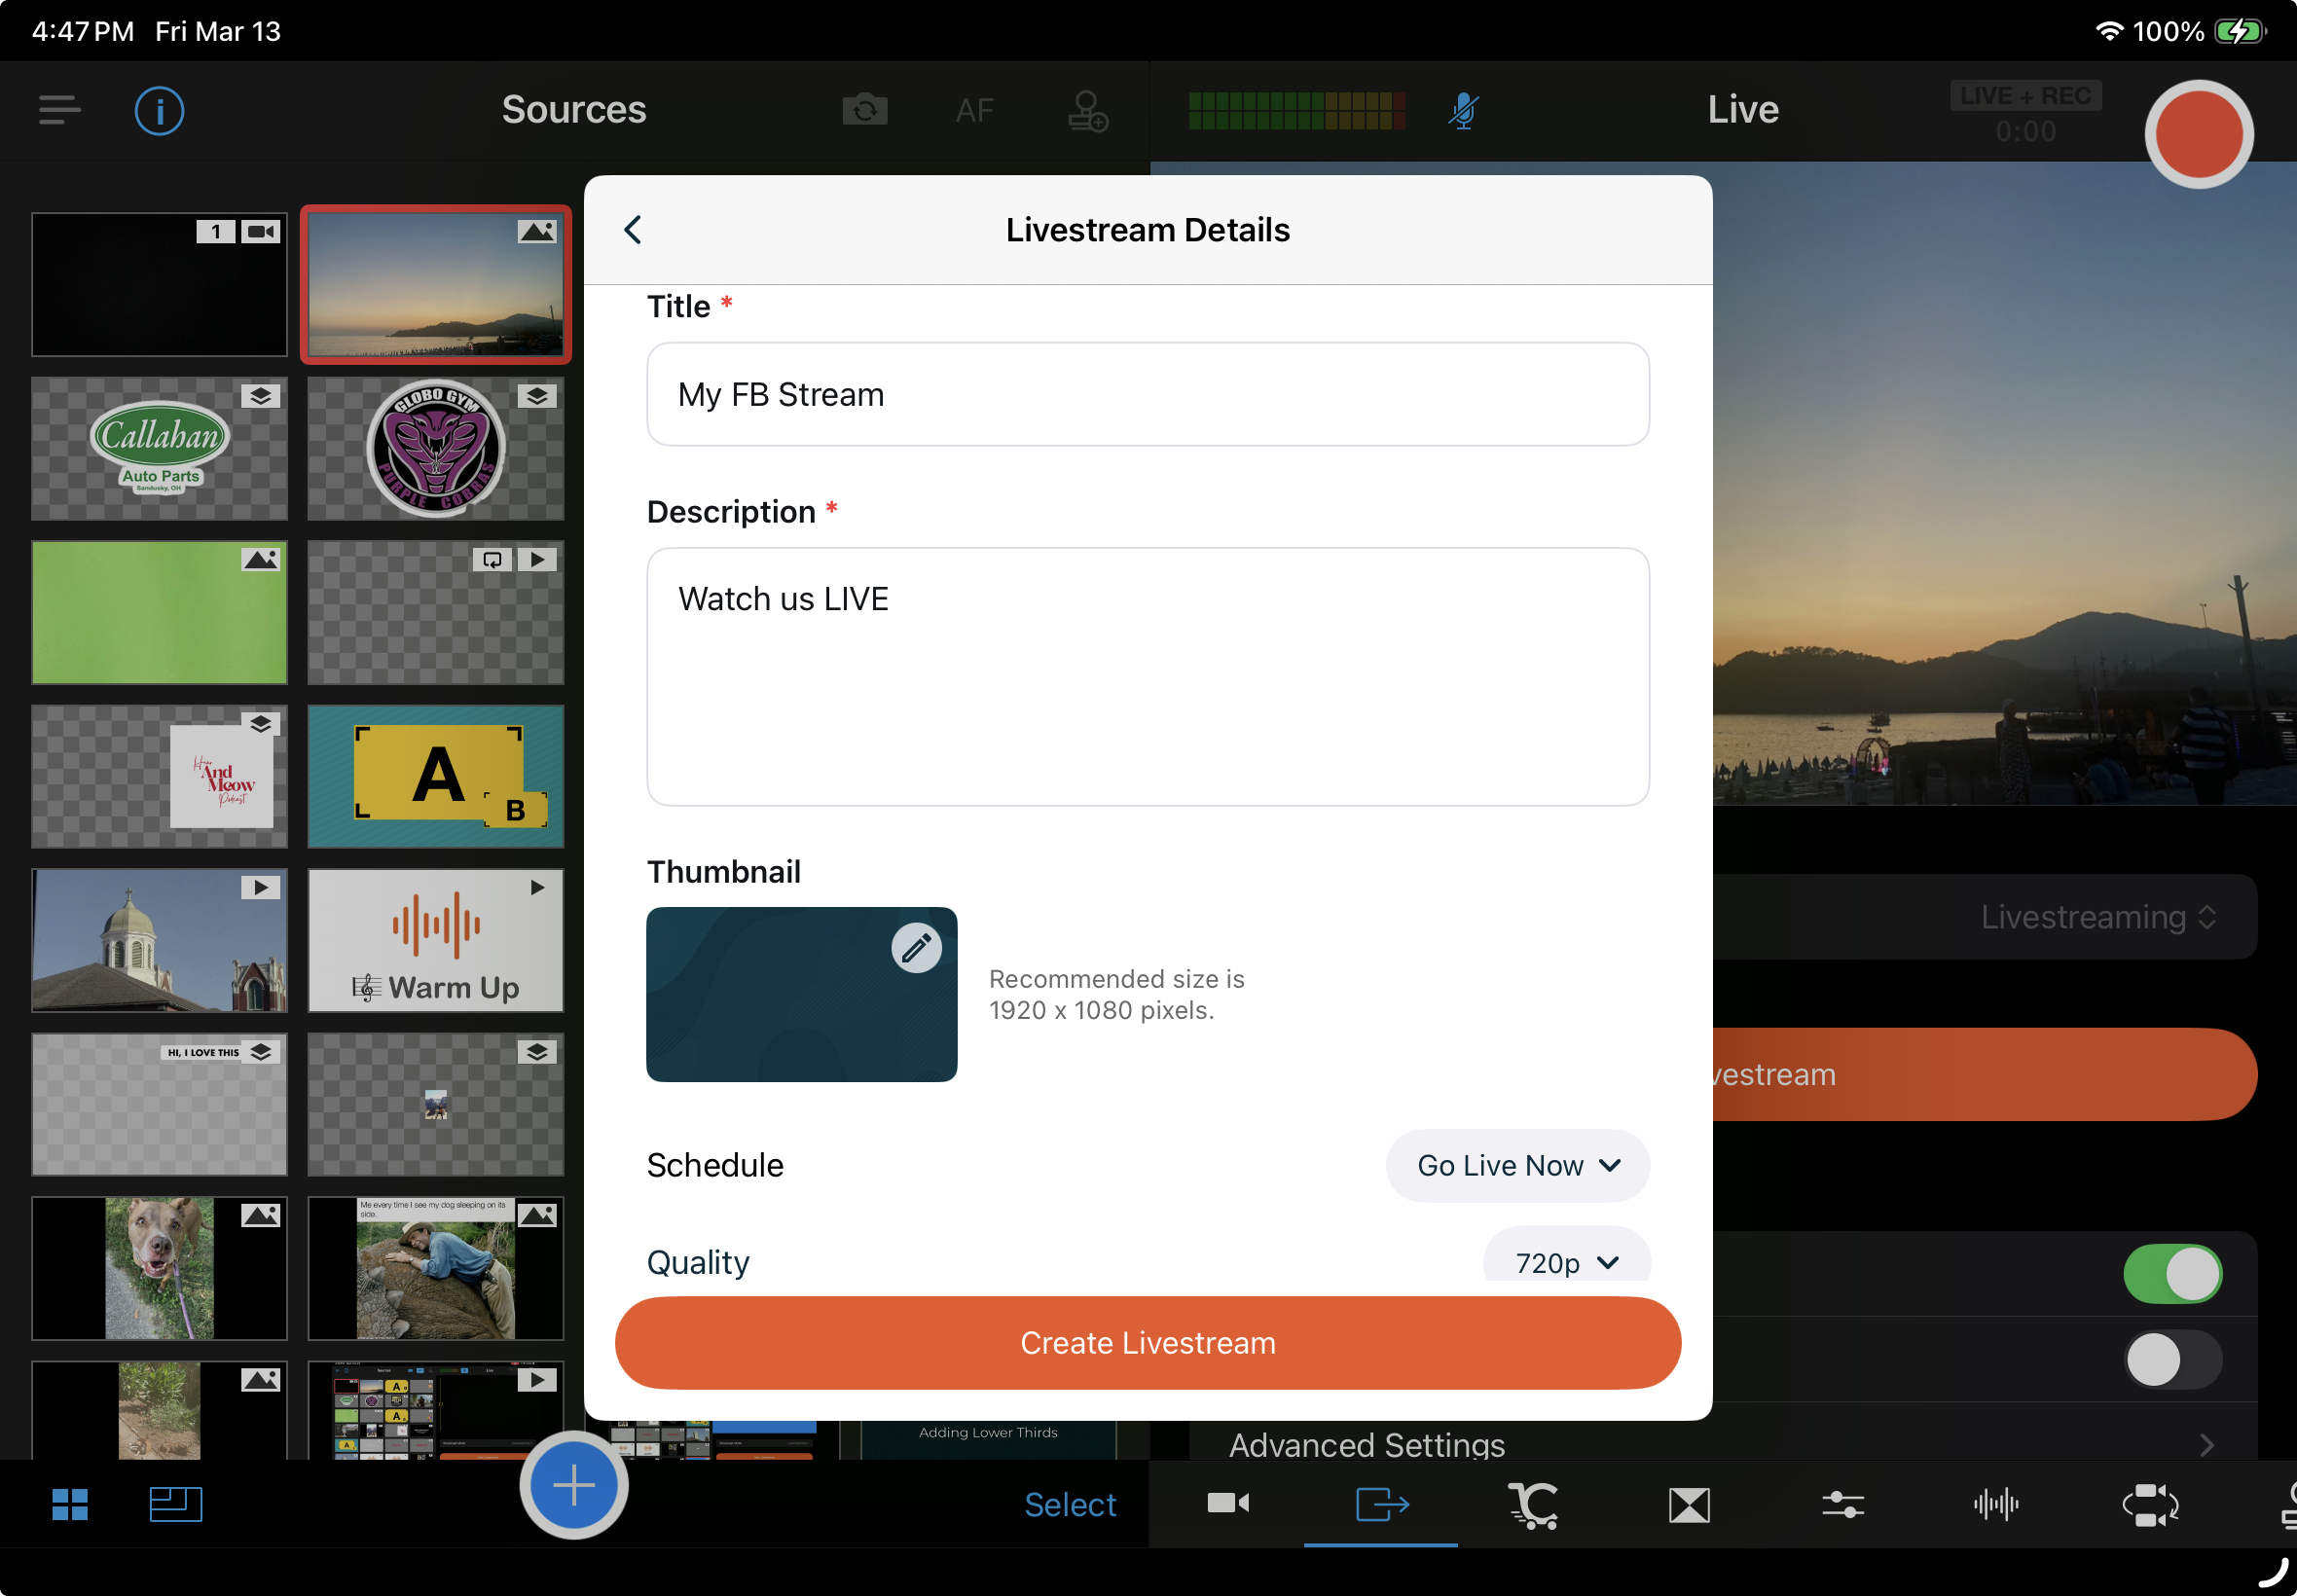

- Tap the drop-down list next to “Schedule”, and select the date and time of your stream. You can schedule your event up to one year in advance!
- Give your event a Title and a Description, so that your viewers know what they’re about to watch.
- Next, select your desired stream quality. For best results, tap on the stream quality button and choose Run Speed Test while in your streaming environment, and it will pick the best quality for your location.
- We generally recommend 720p for streams. A very robust network is needed for 1080p, while 540p or even 360p is necessary if your network is spotty or has a slow upload speed.
- Toggle on or off the ability to save your video automatically to your Video Library. Remember that the total amount of videos that can exist in your Video Library is based on your current Switcher plan:
- Free Trial: 3 videos
- 7-Day Pass: 10 videos
- Studio: 10 videos
- Business: 100 videos
- Merchant: 100 videos
- Plus: 150 videos / 50 per user
-
When you’re done, tap the orange “Create Livestream” button.
You’ll now see your event listed in the Outputs tab, and the destinations it’ll stream to show below it.

- To go live, tap on the big red button at the time of your scheduled event! If you try to go live before your event’s time begins OR more than 10 minutes after the scheduled start time, your stream will not appear for your viewers, and you will have to create a brand new stream.
Editing Your Scheduled Stream
-
In the Outputs tab, tap on the grey "Change" button beside the currently selected event.
Tap on the icon with the three horizontal dots to the right of the event's name, and choose "Edit Details" from the dropdown menu.

The information you previously input for this event will appear. Tap on the dropdown boxes to change the date and/or the time of the event, and then tap the orange "Save" button at the bottom of the window.
Note: If you do not see the Page that you want to stream to, it is likely you did not allow Switcher full permission when linking your Facebook account. Check out this article for step-by-step instructions on relinking your account and resetting your permissions: Facebook Visibility & Permissions Issues
Starting A Scheduled Facebook Stream
When you log into the Switcher Studio app, you should see the name of your scheduled stream in the Outputs tab next to Facebook.
To go live for a scheduled stream:
-
Go to the Outputs tab on the main switcher device.
-
Next to Livestreaming, you should see the scheduled stream.
-
Tap the record button in the top right corner to begin streaming.
-
Keyword(s): stream, schedule, Facebook