Separating Streaming And Recording
Beginning with Switcher app version 13.11.0, you can control your streaming and recording quality separately without using Director Mode! You can stream at the quality that works best for your WiFi speed (480p, 720p, or 1080p), while also having a high-quality recording on your device post-broadcast.
NOTE: This feature only works in Livestreaming Mode. When using Recording Mode, Practice Mode, or Custom RTMP Mode, separating the stream from the recording is not an option.
Table Of Contents:
- Use Cases
- Enabling Streaming/Recording Separation
- Setting Up A Live Event With Separate Streaming & Recording
Use Cases
- Start livestream and local recording at the same time. Stop the recording during event breaks (intermission, communion, etc.)
- Start the local recording first to record exclusive content that could then be gated after the event. Then, start the livestream for the general audience
- Start the stream first, then start recording specific speakers, Q&A, or break out sessions to be shared after the event.
- Start both livestream and local recording at the same time. Stopping local recording before storage is full will prevent the stream from interruption.
Enabling Streaming/Recording Separation
To get started, open the Switcher app, and navigate to the live setup screen on your main switching device. You'll be on the Outputs tab by default; if not, tap on the Outputs icon at the bottom of the window to switch to Outputs.
Now, tap on Advanced Settings under More Options.
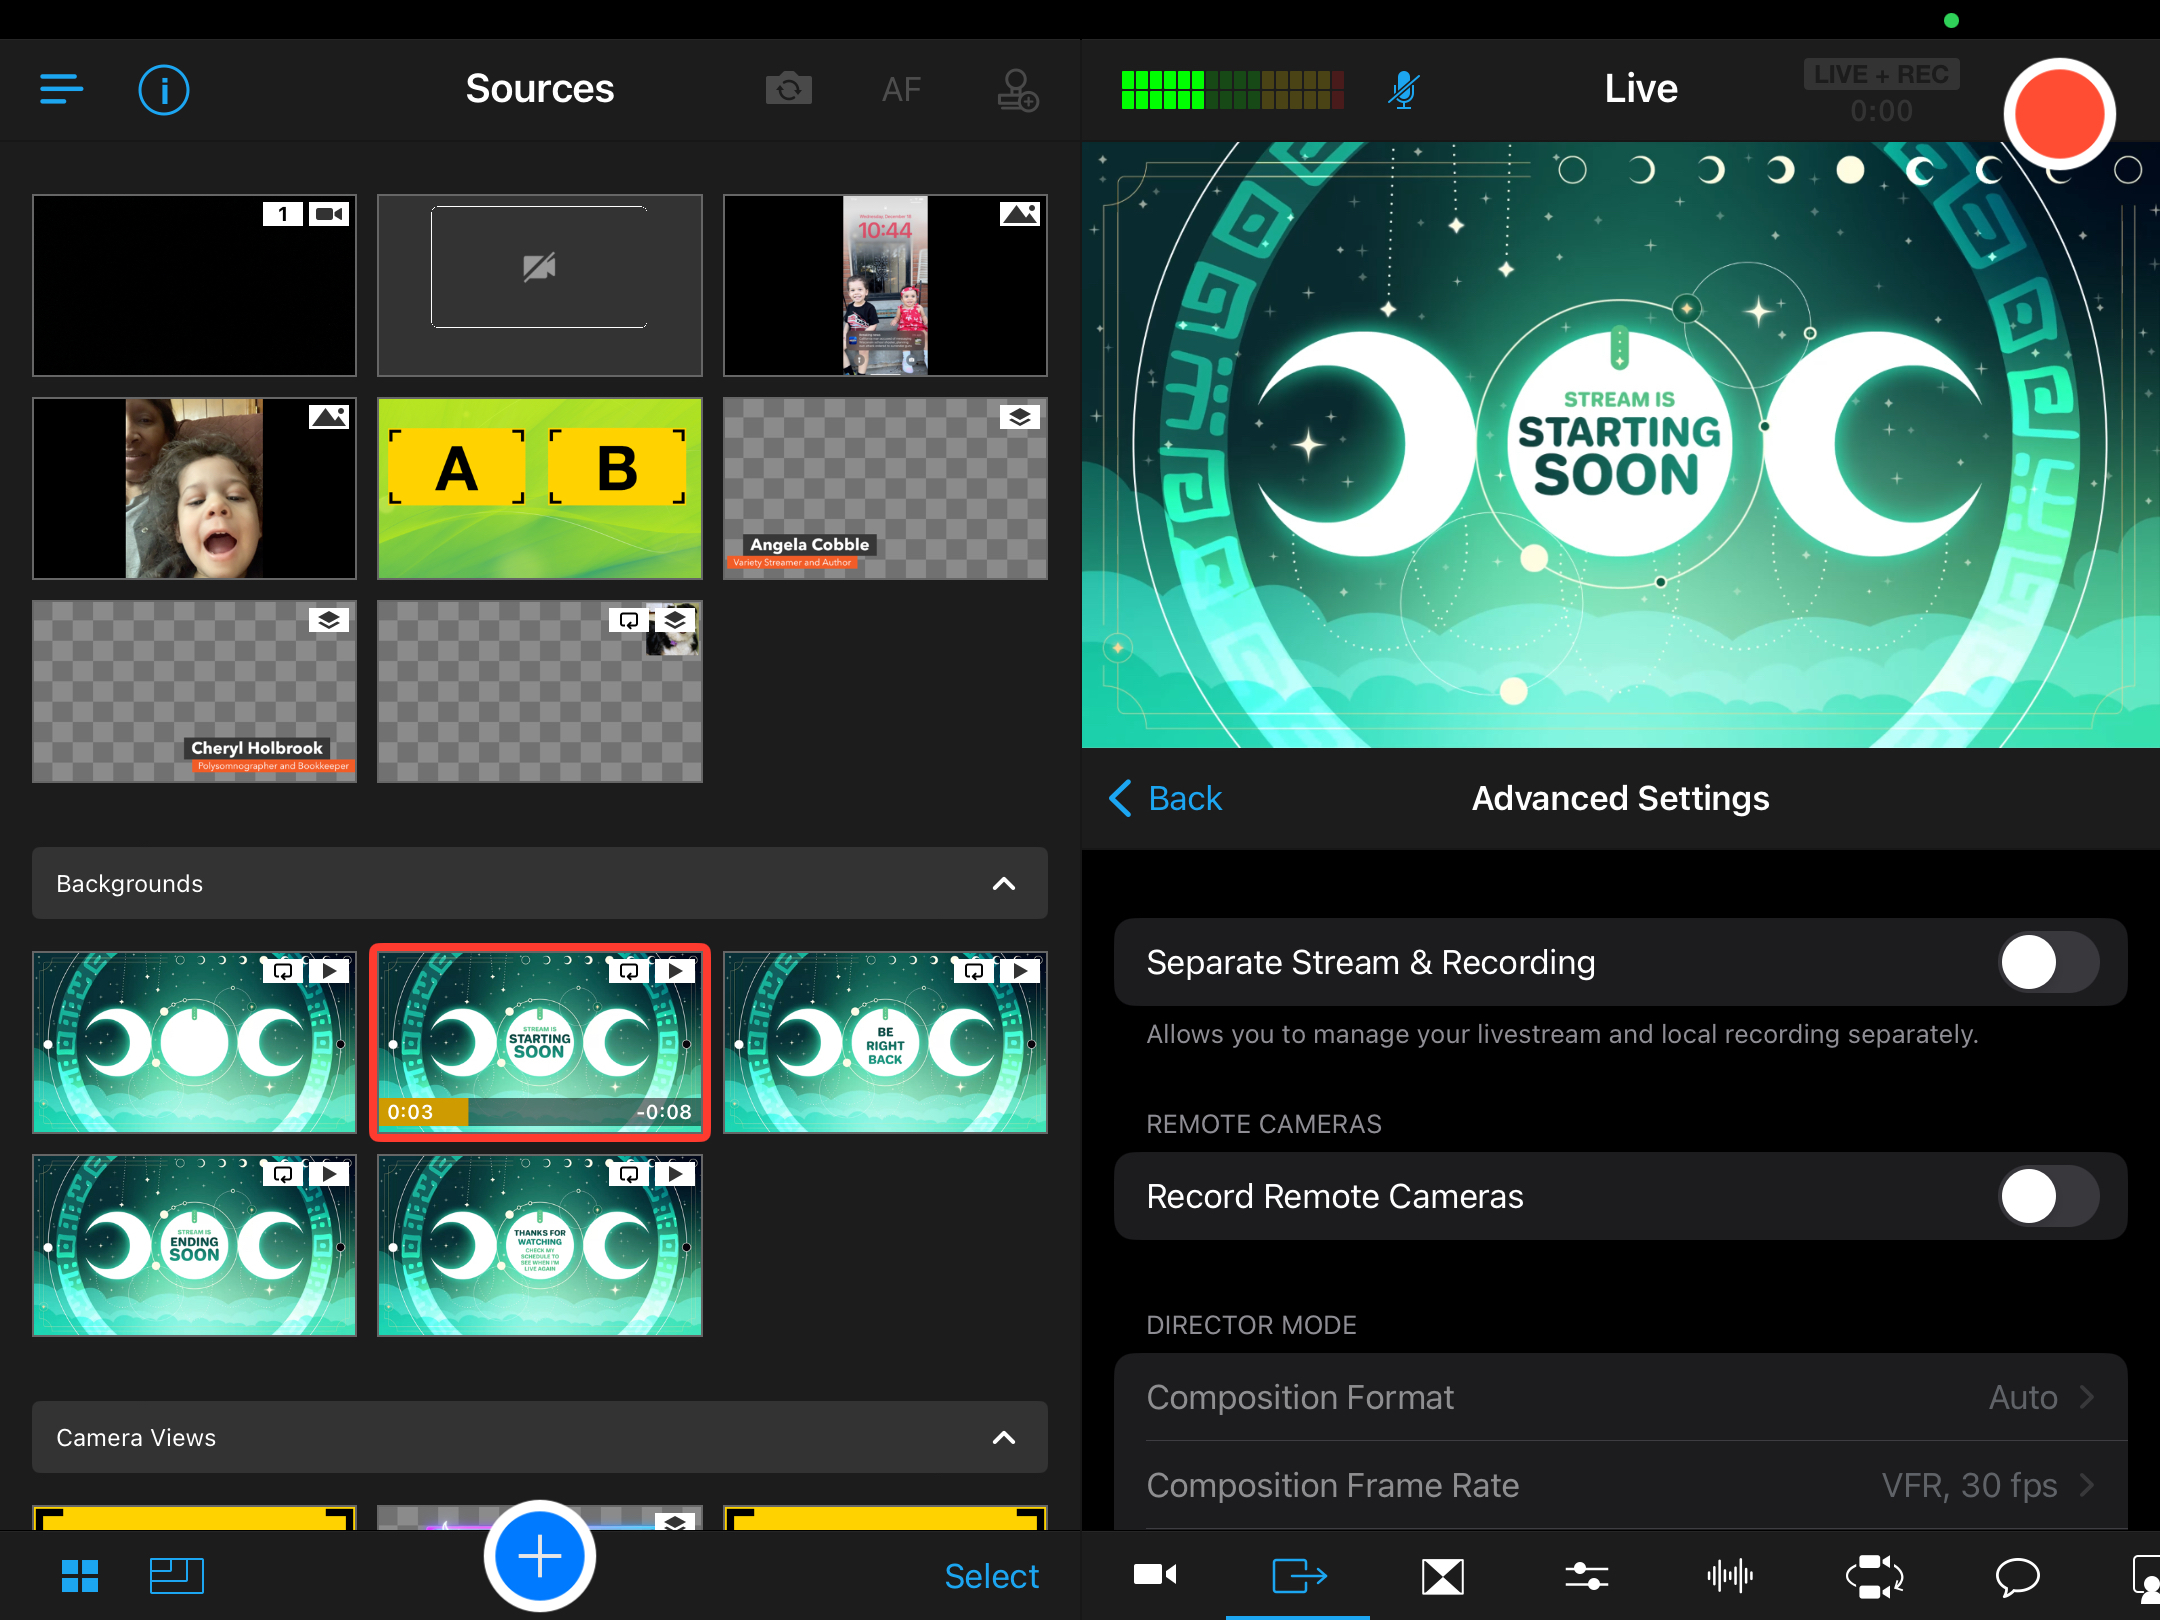
You'll see a setting right at the top for Separate Stream & Recording. Tap on its toggle to enable the feature.
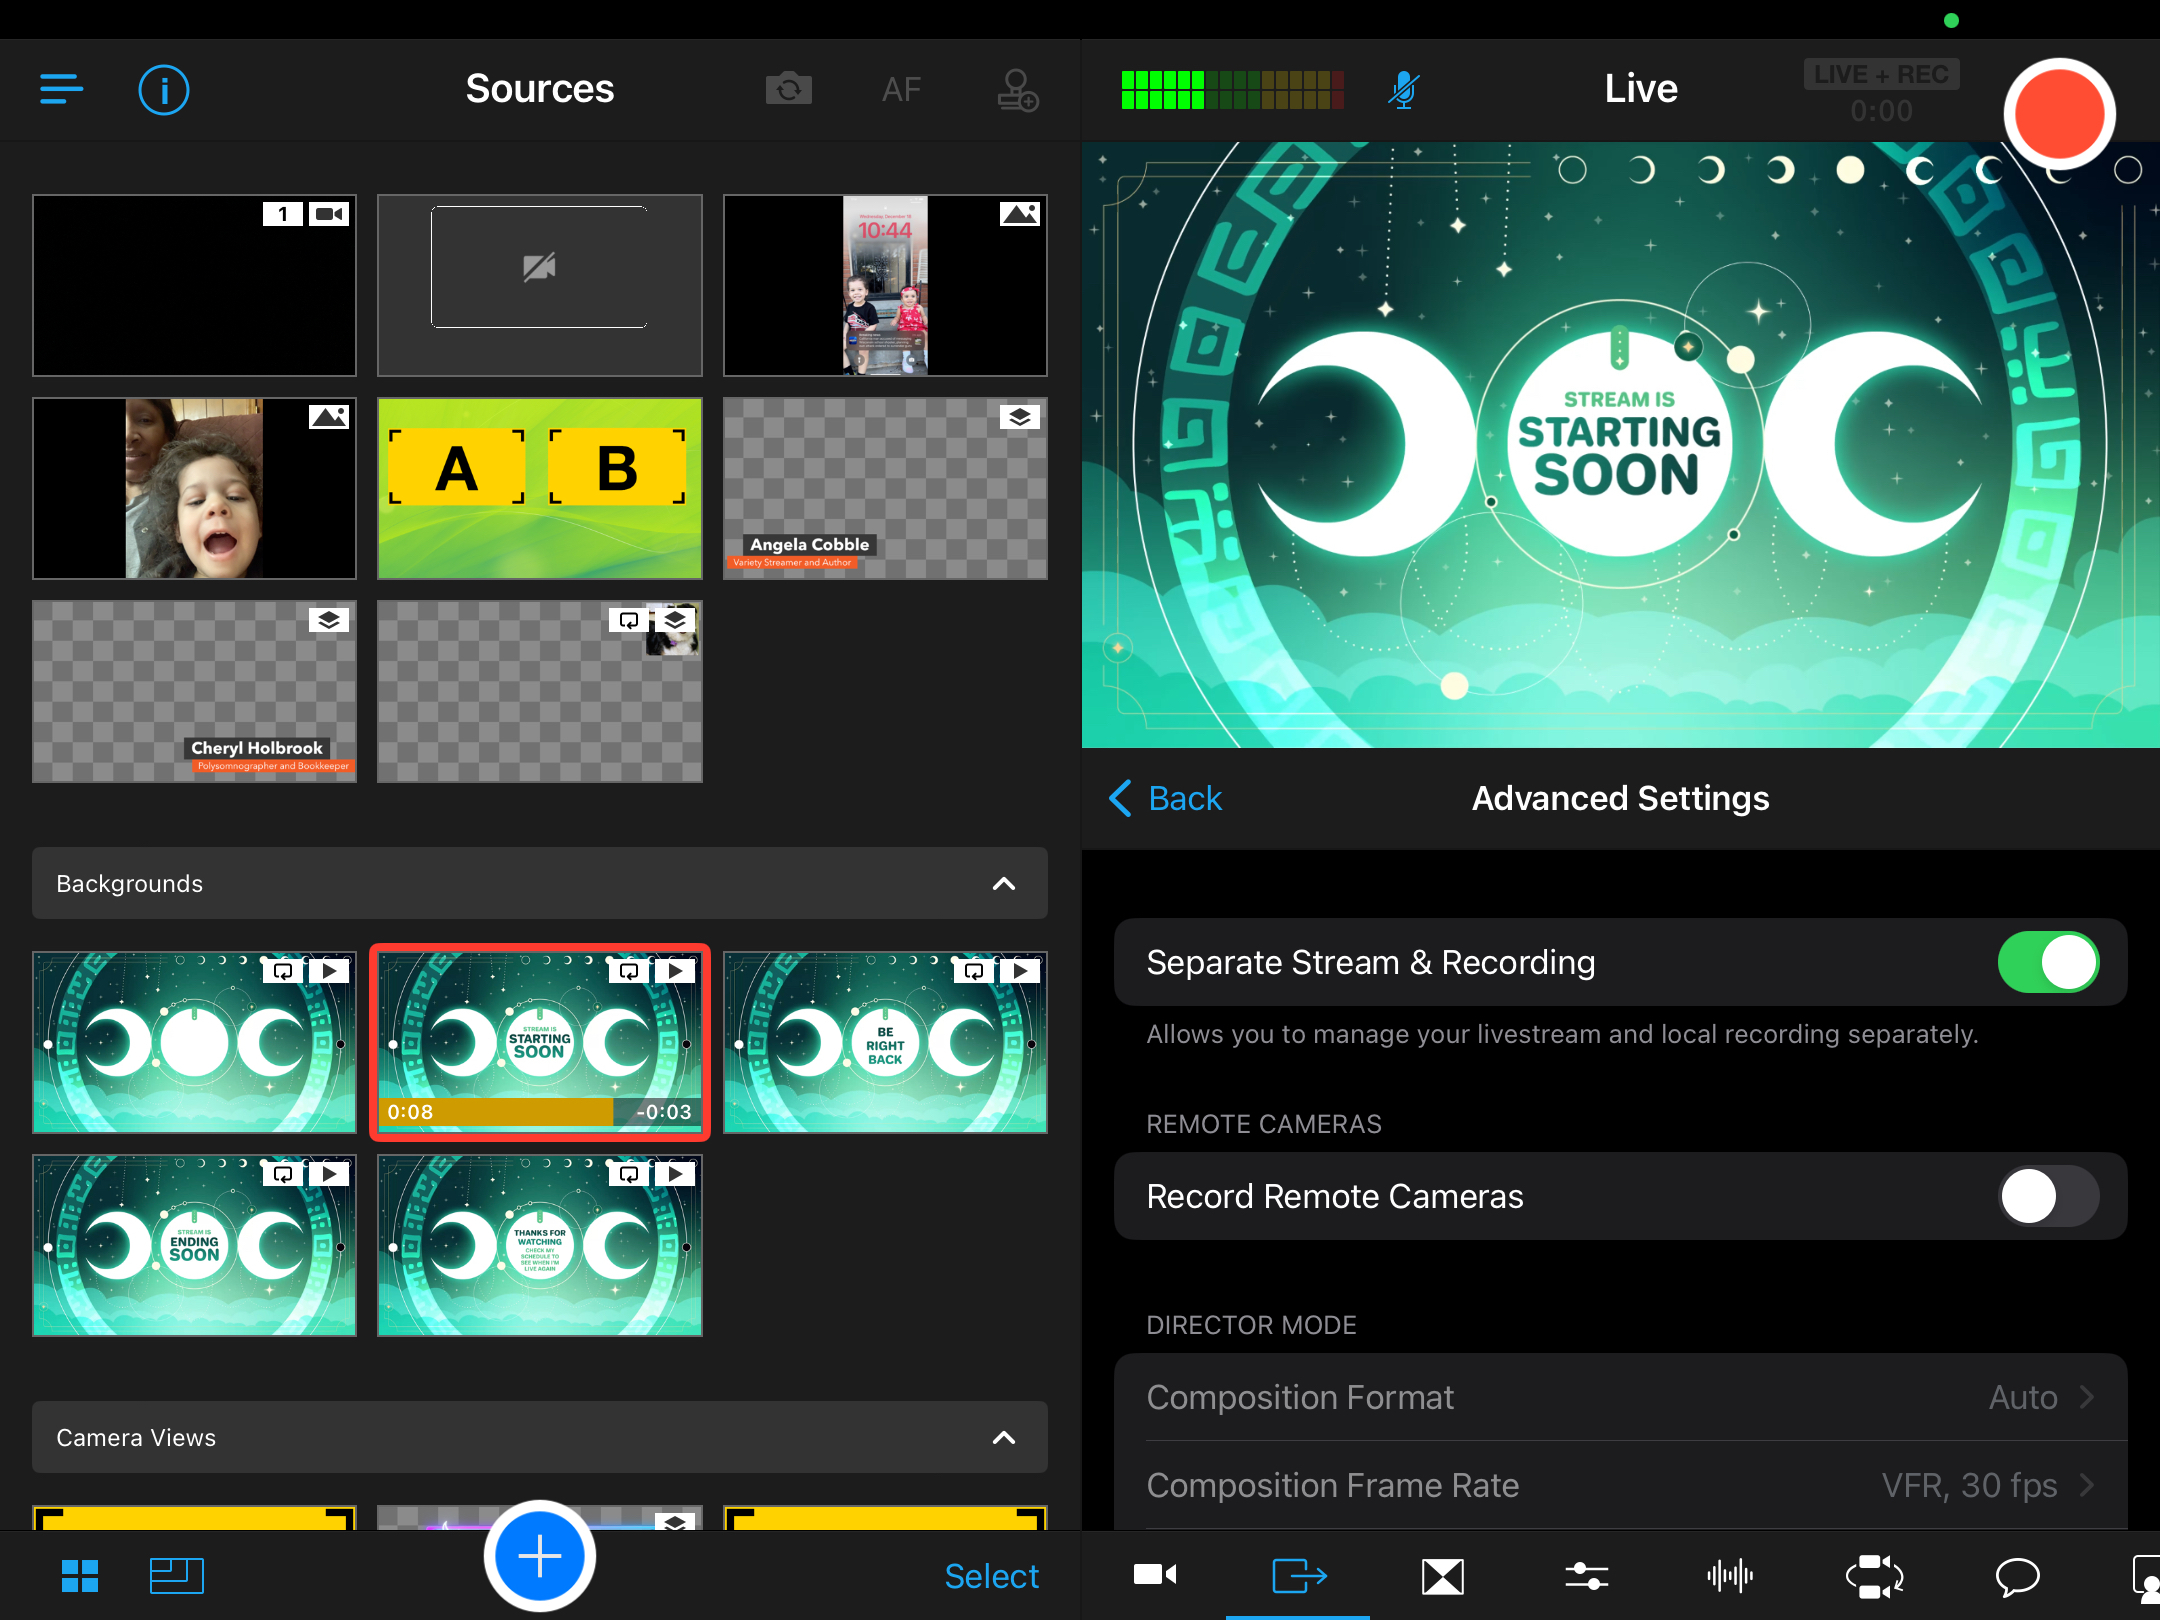
You'll be able to confirm that it is enabled when the toggle turns green. You're all set. Tap on the blue < Back icon at the top of the window to get back to your Livestream settings.
You can return to the Advanced Settings at any time to combine your stream and recording again.
Setting Up A Live Event With Separate Streaming & Recording
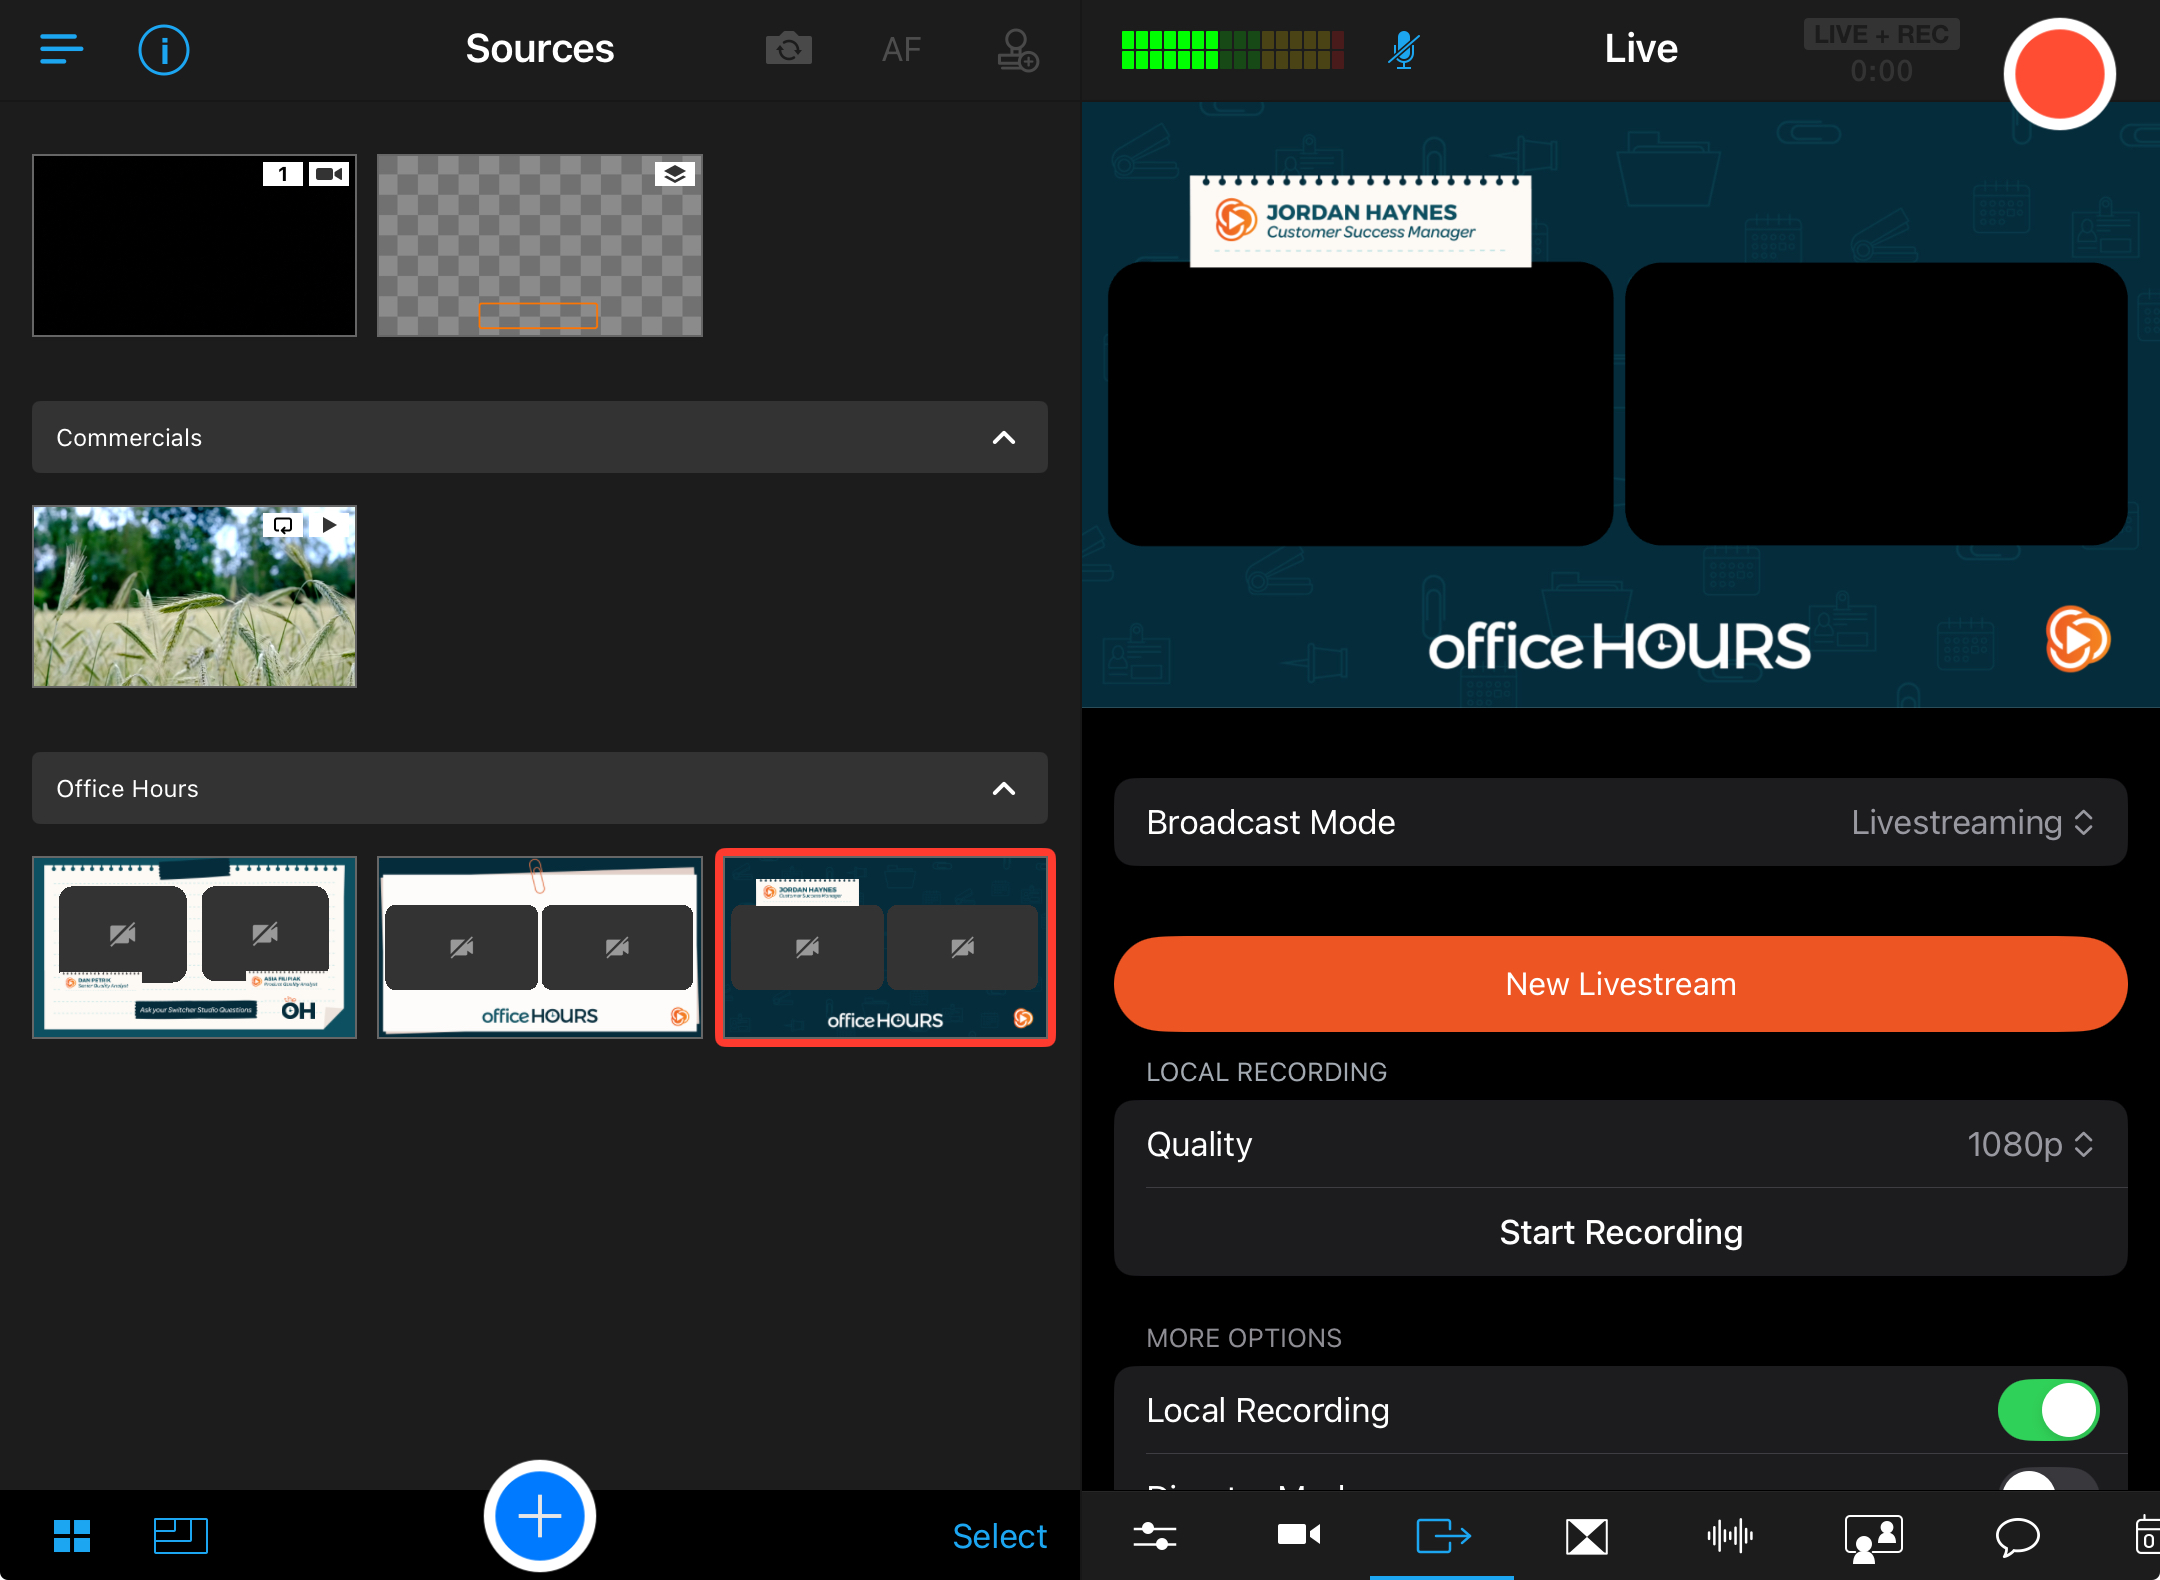
Now, that you've enabled Separate Streaming & Recording, it's time to set up your streaming event. Get started by tapping the orange New Livestream button in the Outputs tab.
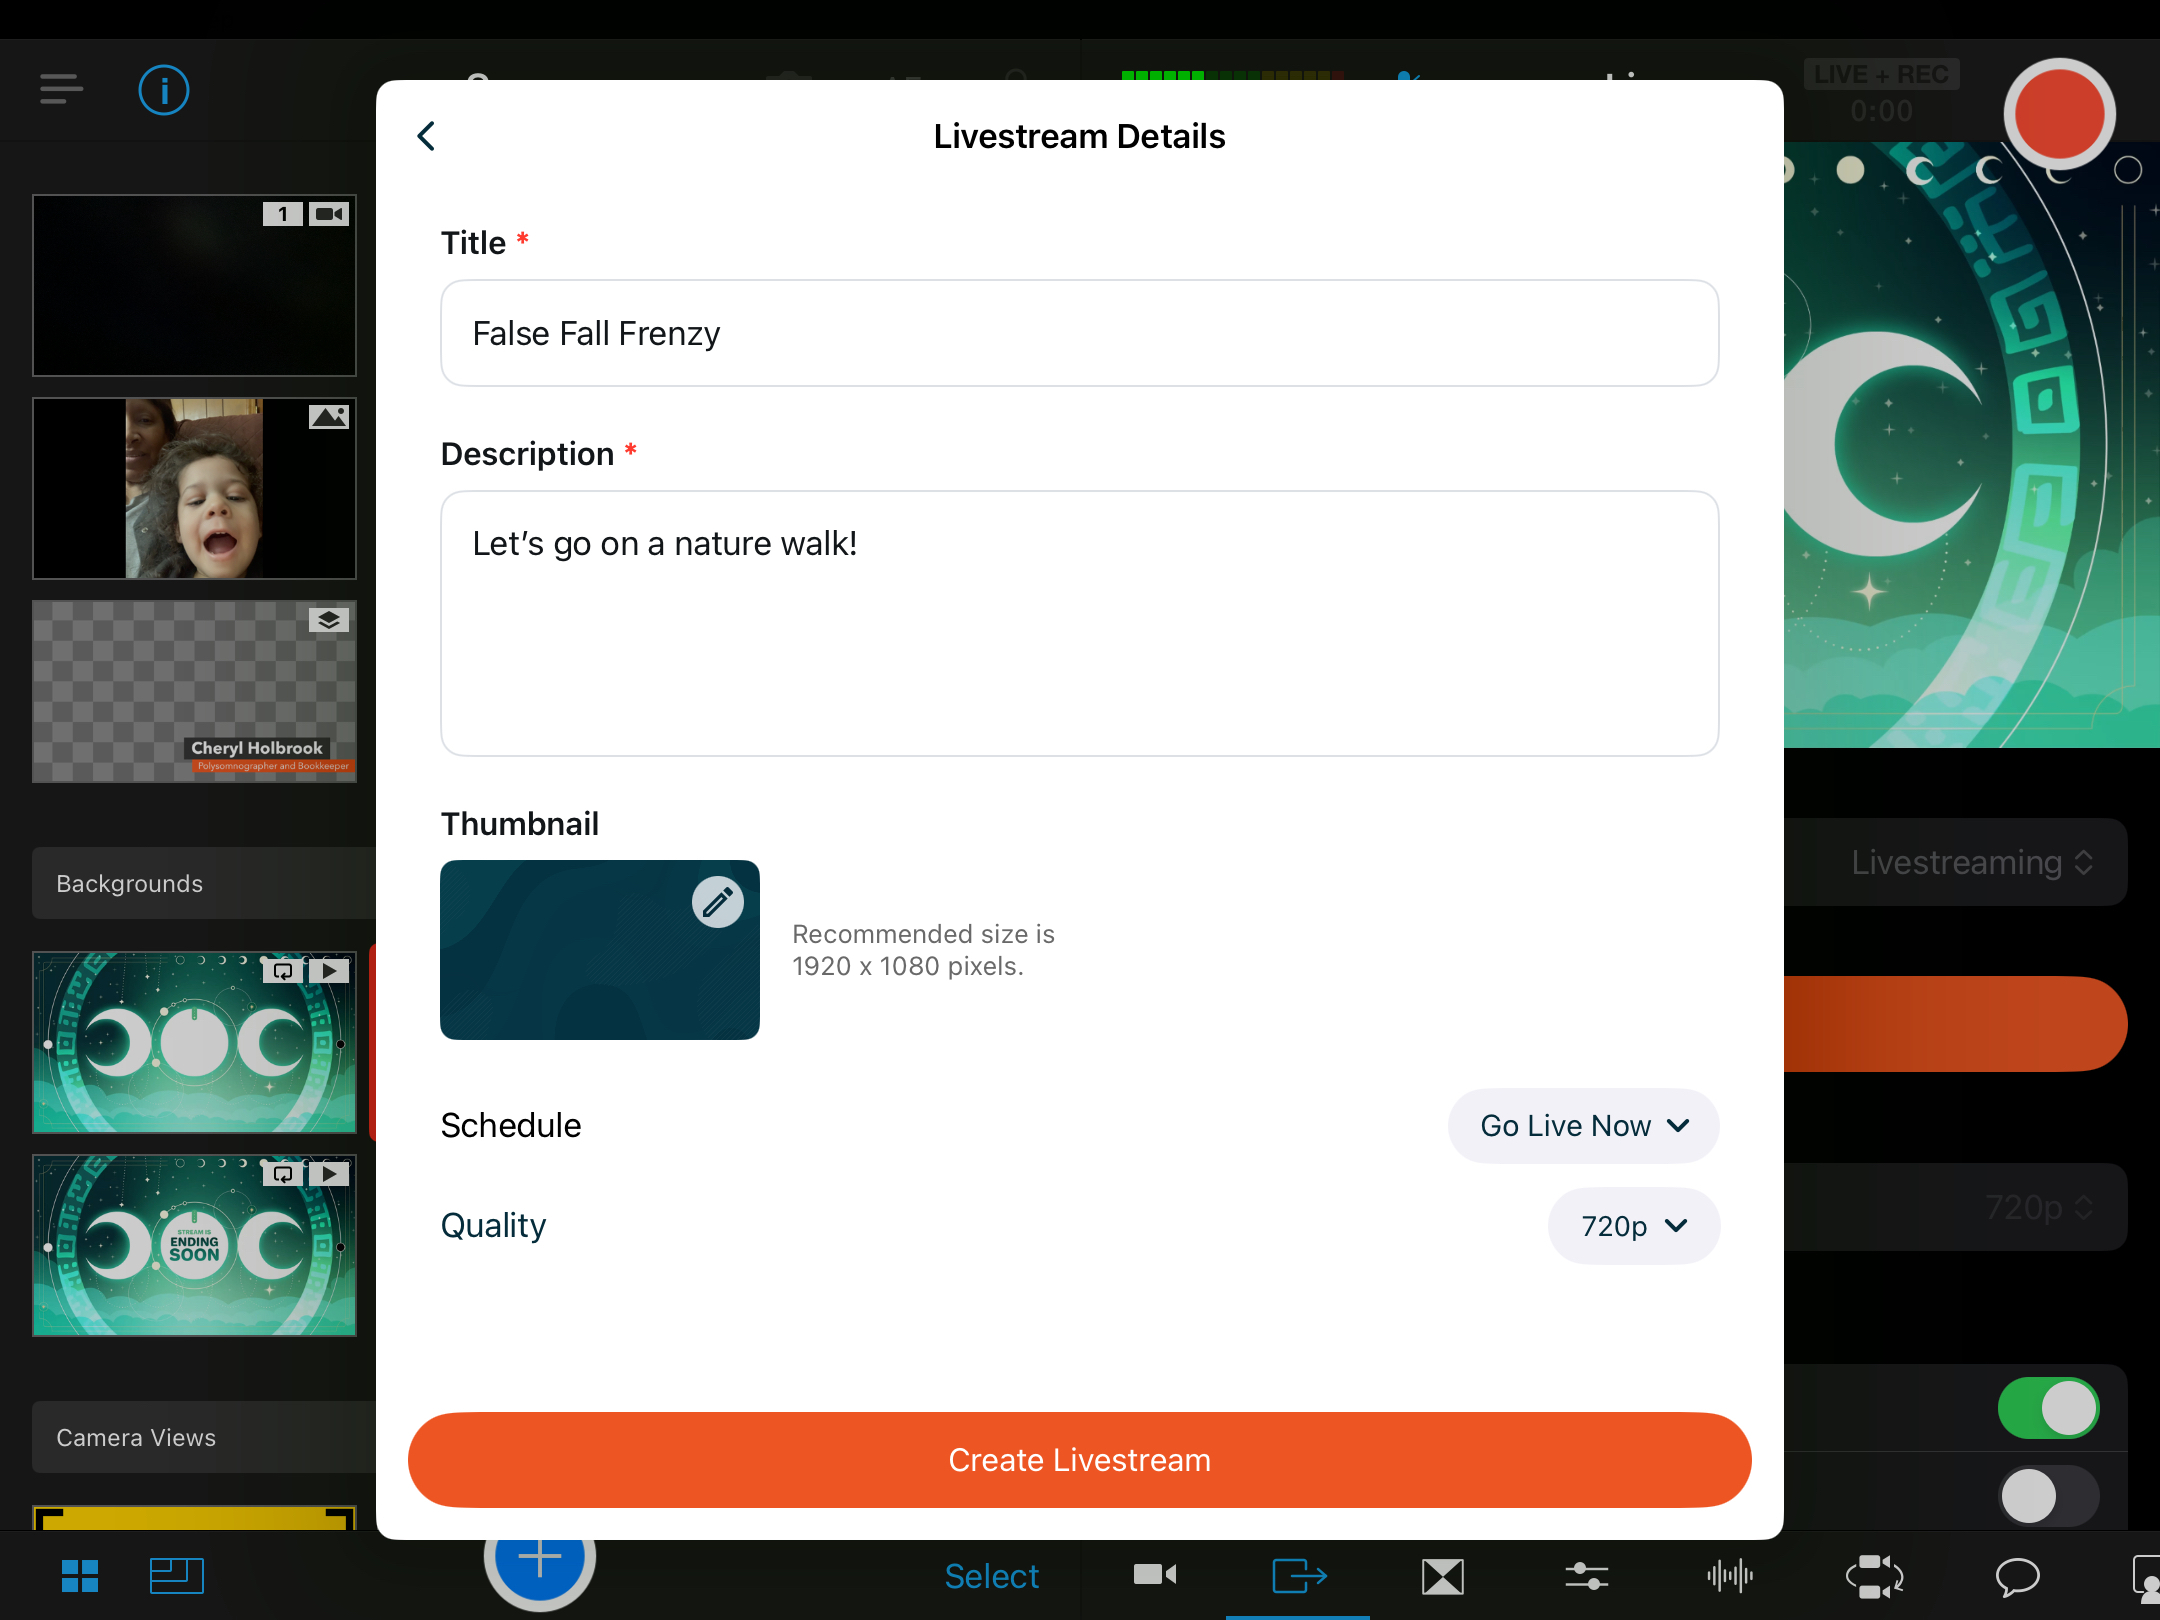
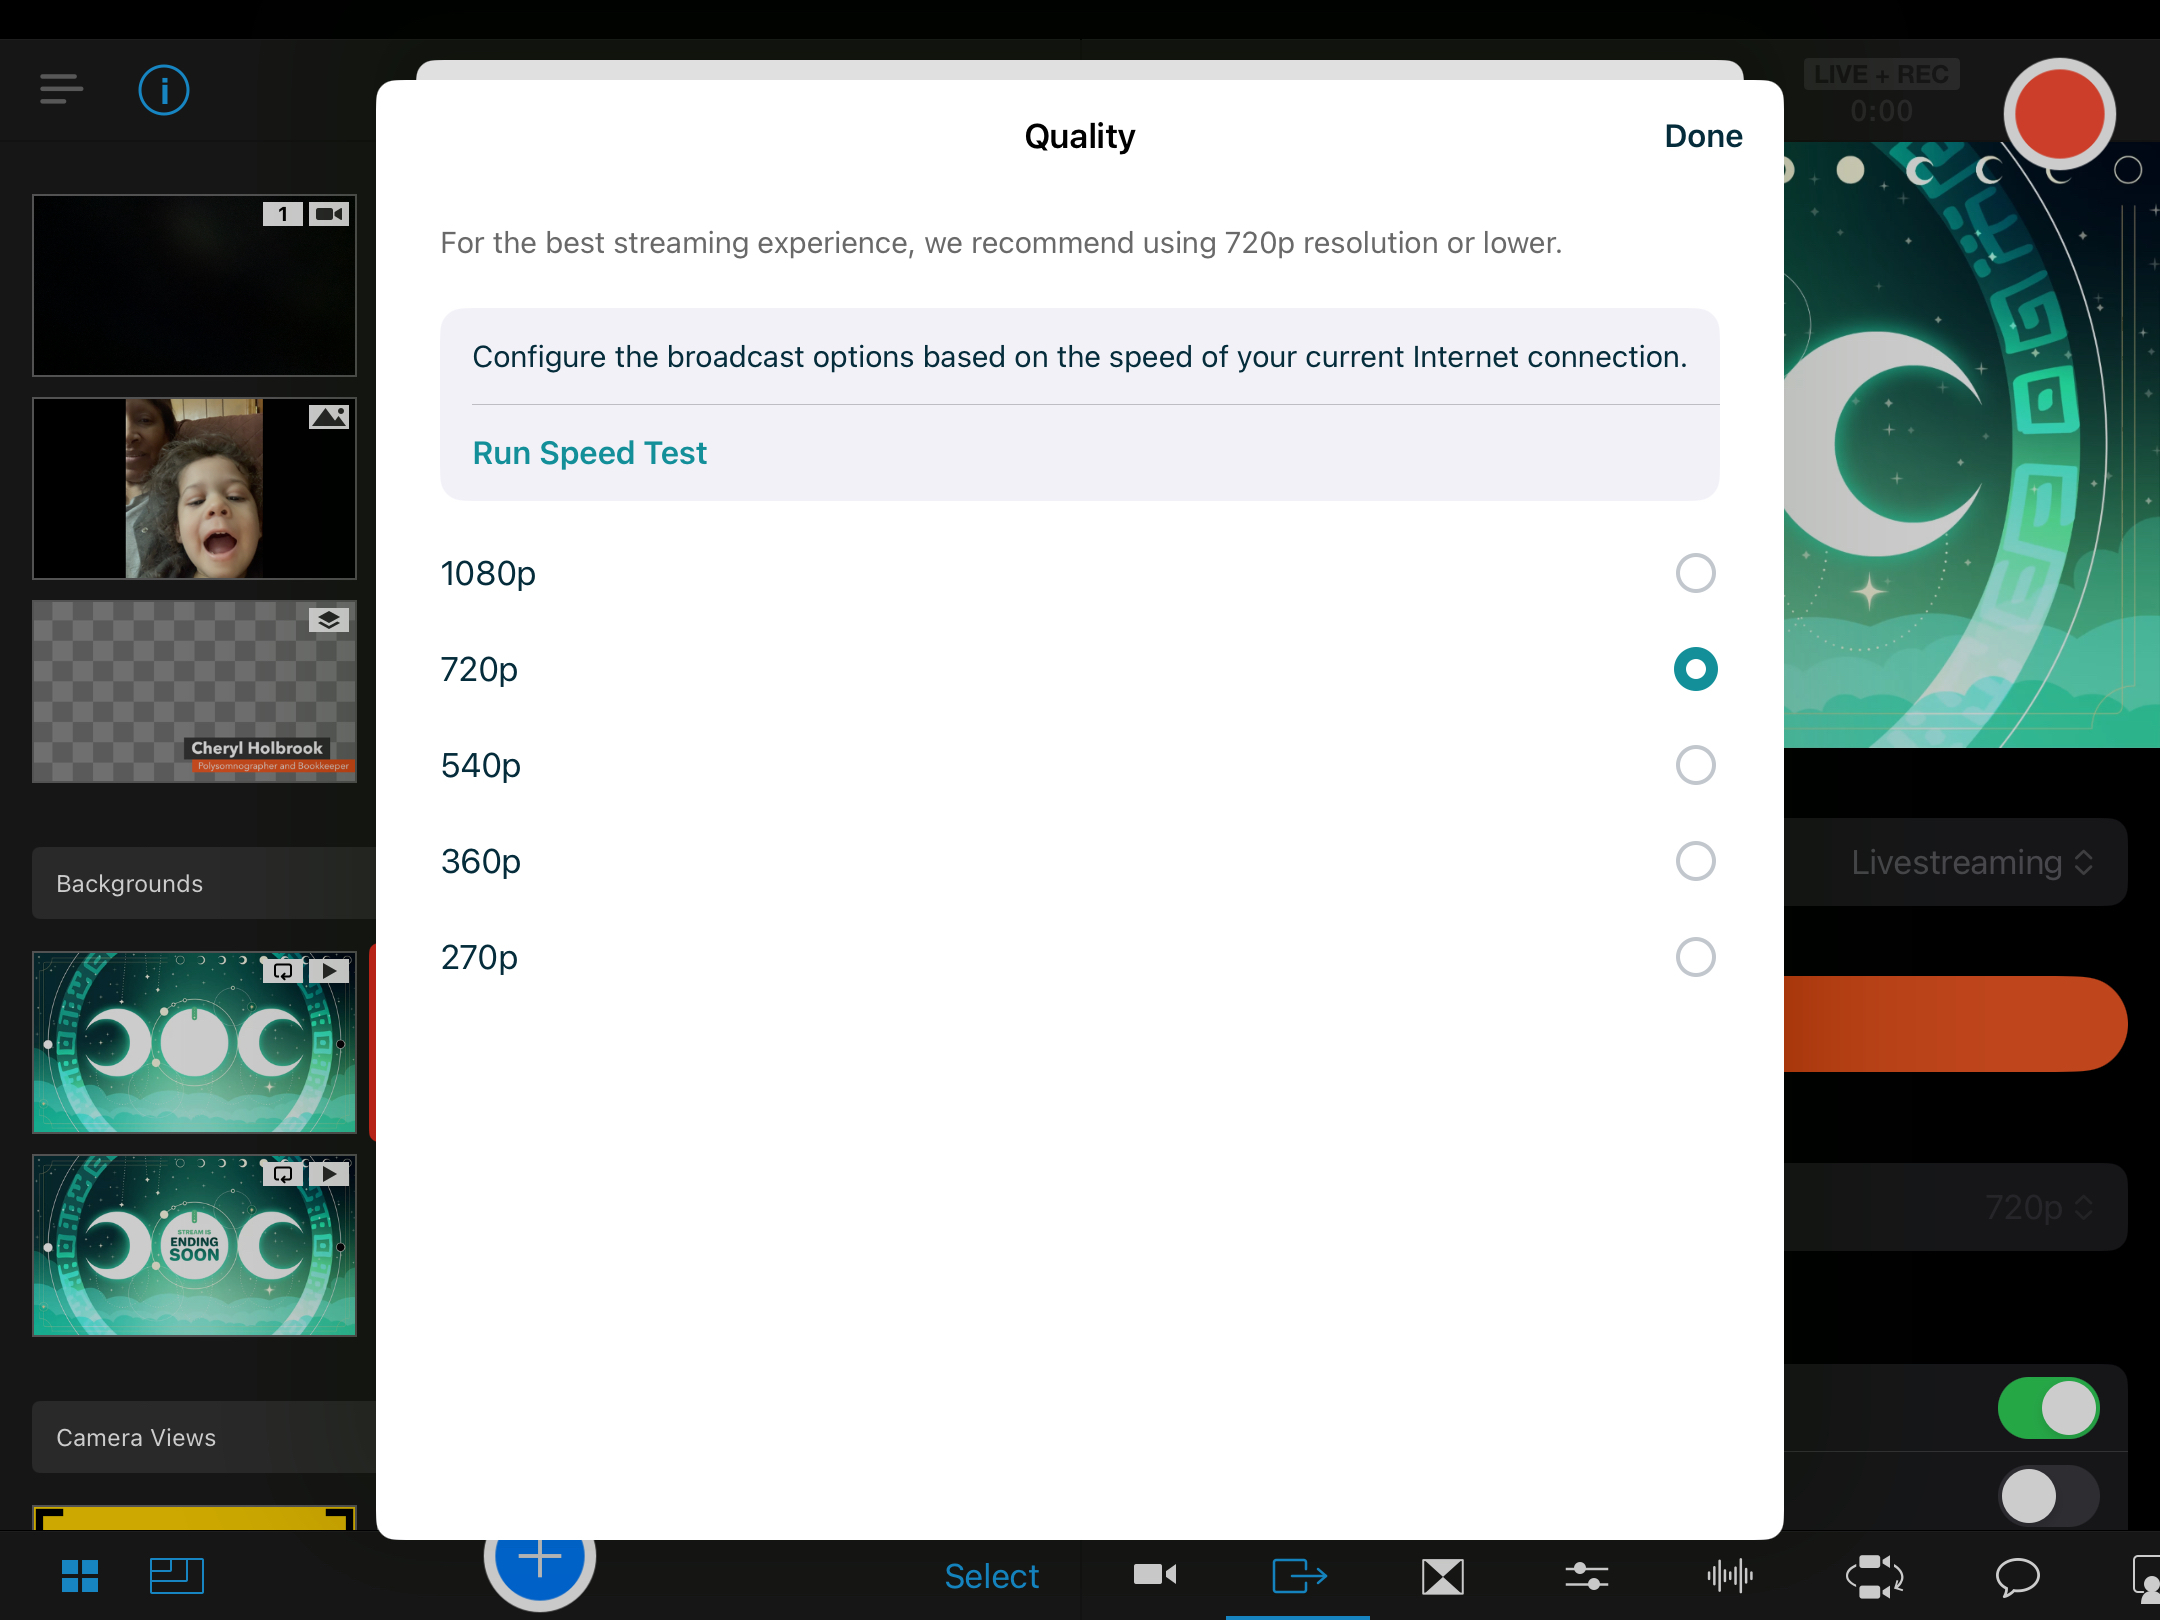
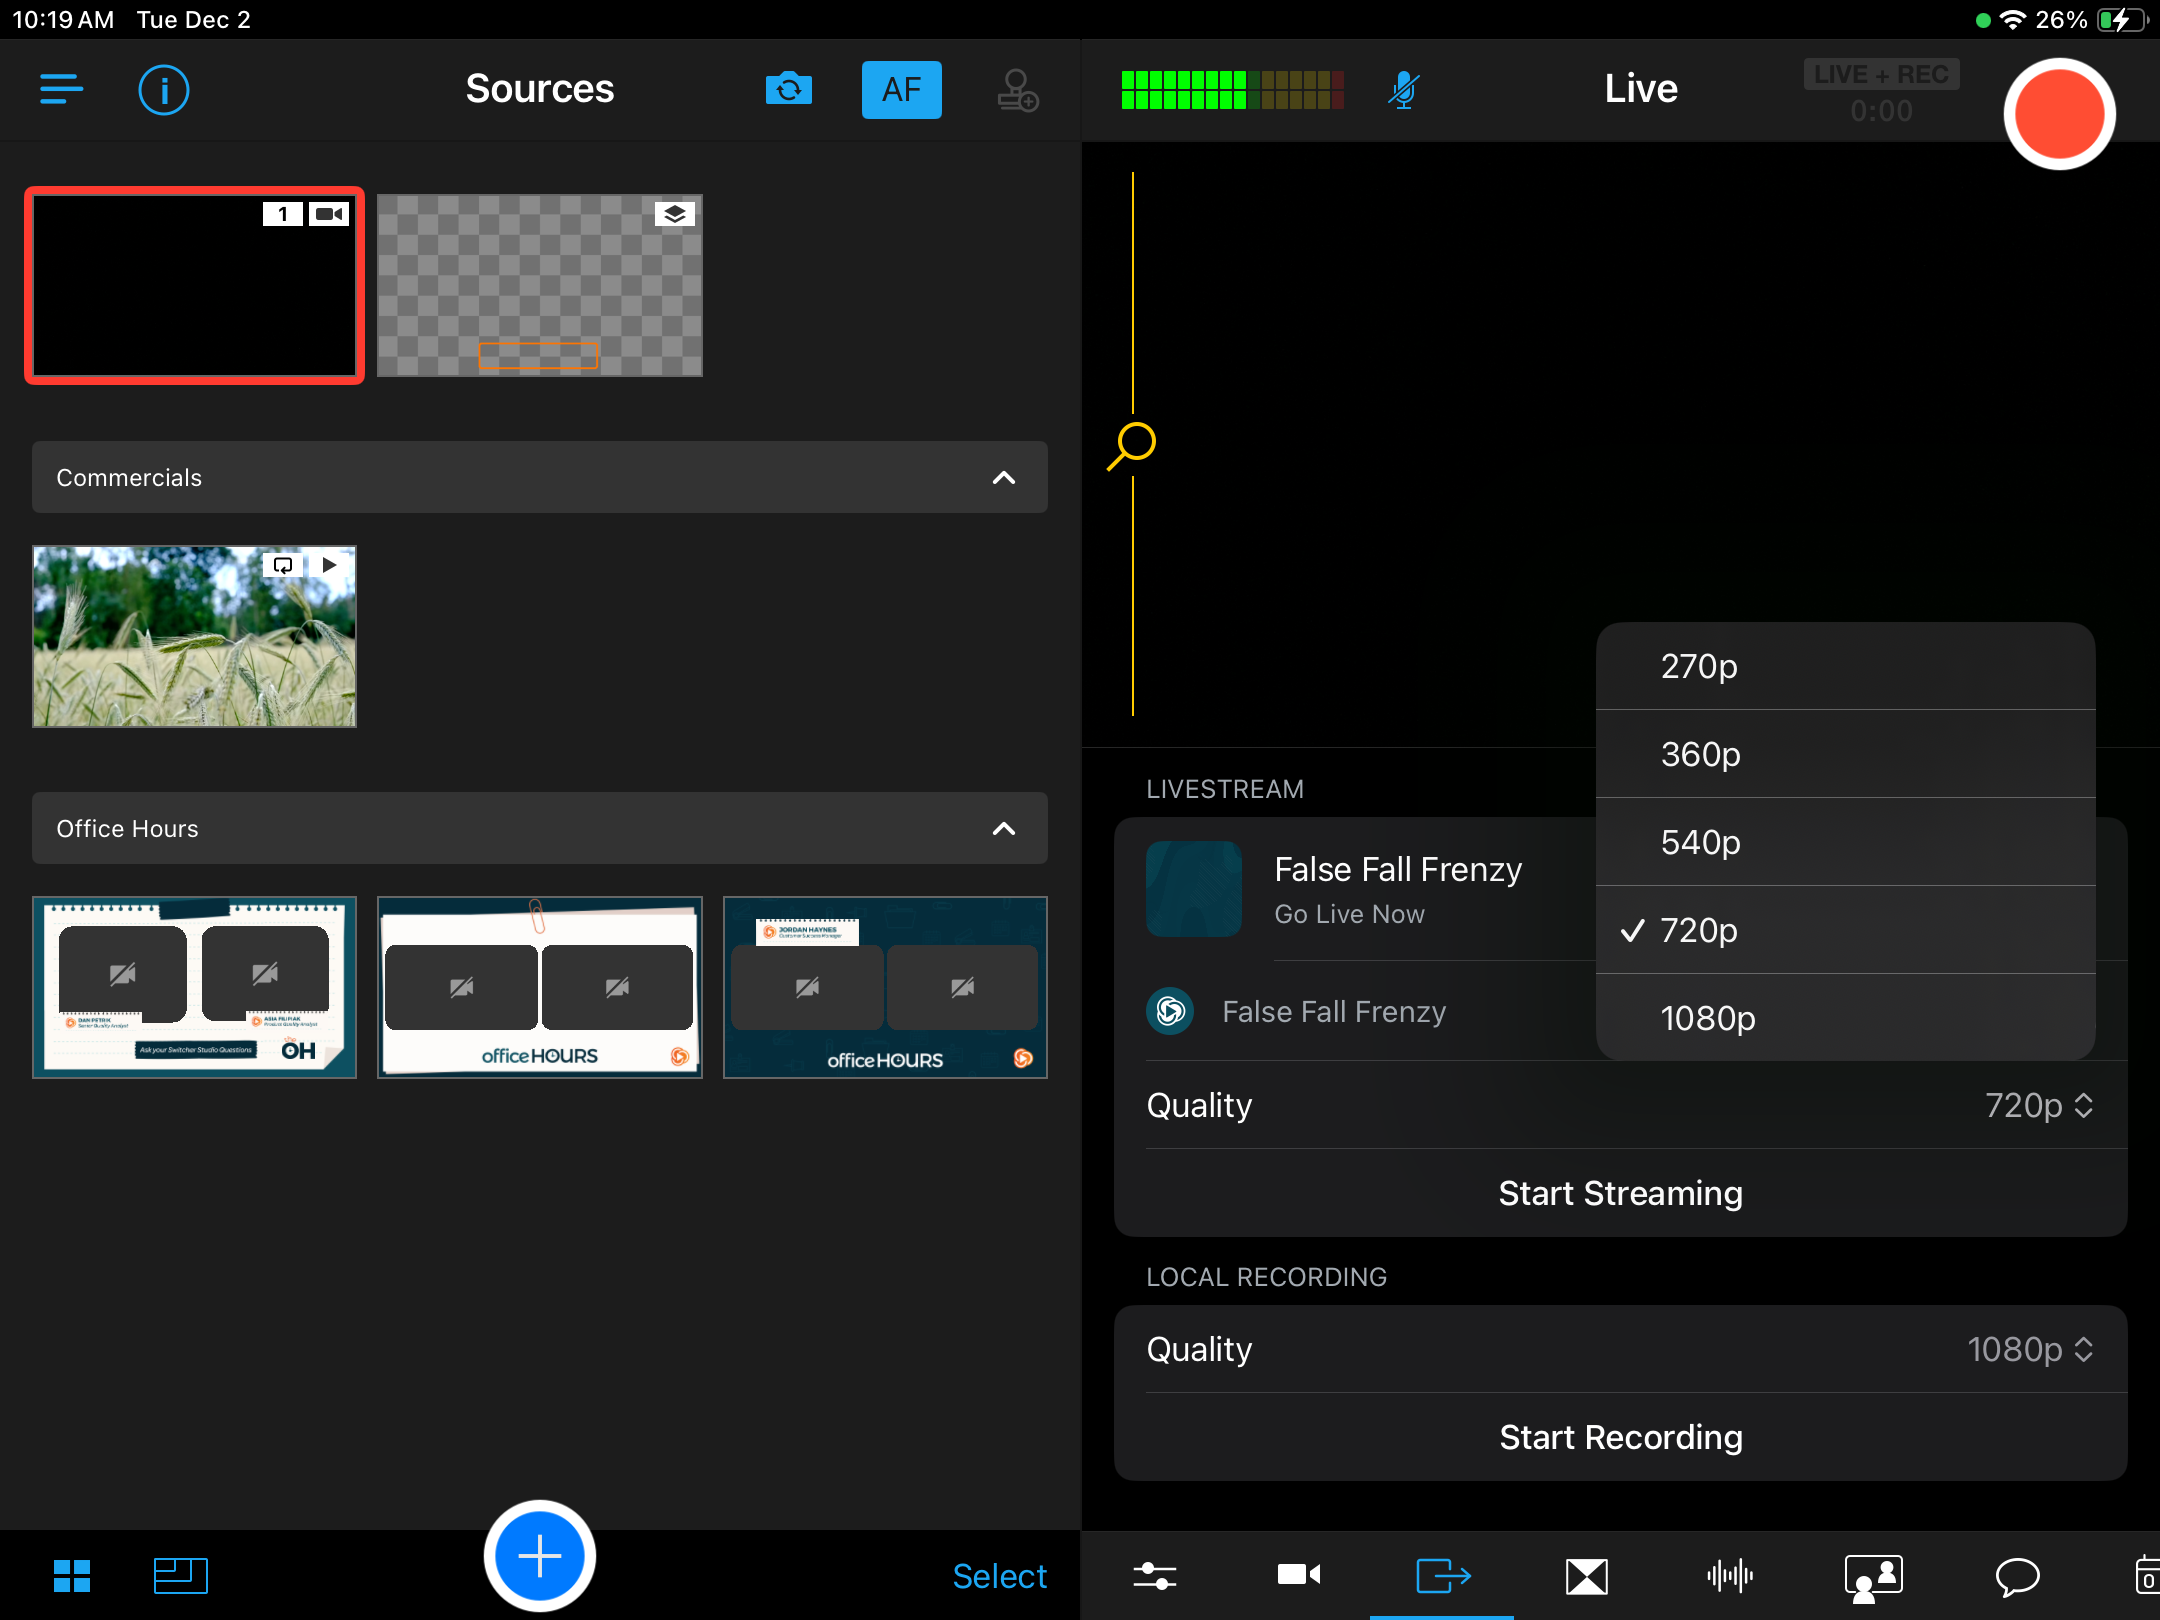
Choose your destination(s), and then enter your Livestream Details. The Quality is set to 720p by default. Tap on the 720p button.
Tap on Run Speed Test while on location shortly before your event. Switcher will choose the stream quality that's best for your WiFi connection, but you can manually select your own setting if desired.
NOTE: Do not choose a stream quality that is higher than what Switcher selected for you post-Speed Test. Your livestream will crash due to lack of bandwidth!
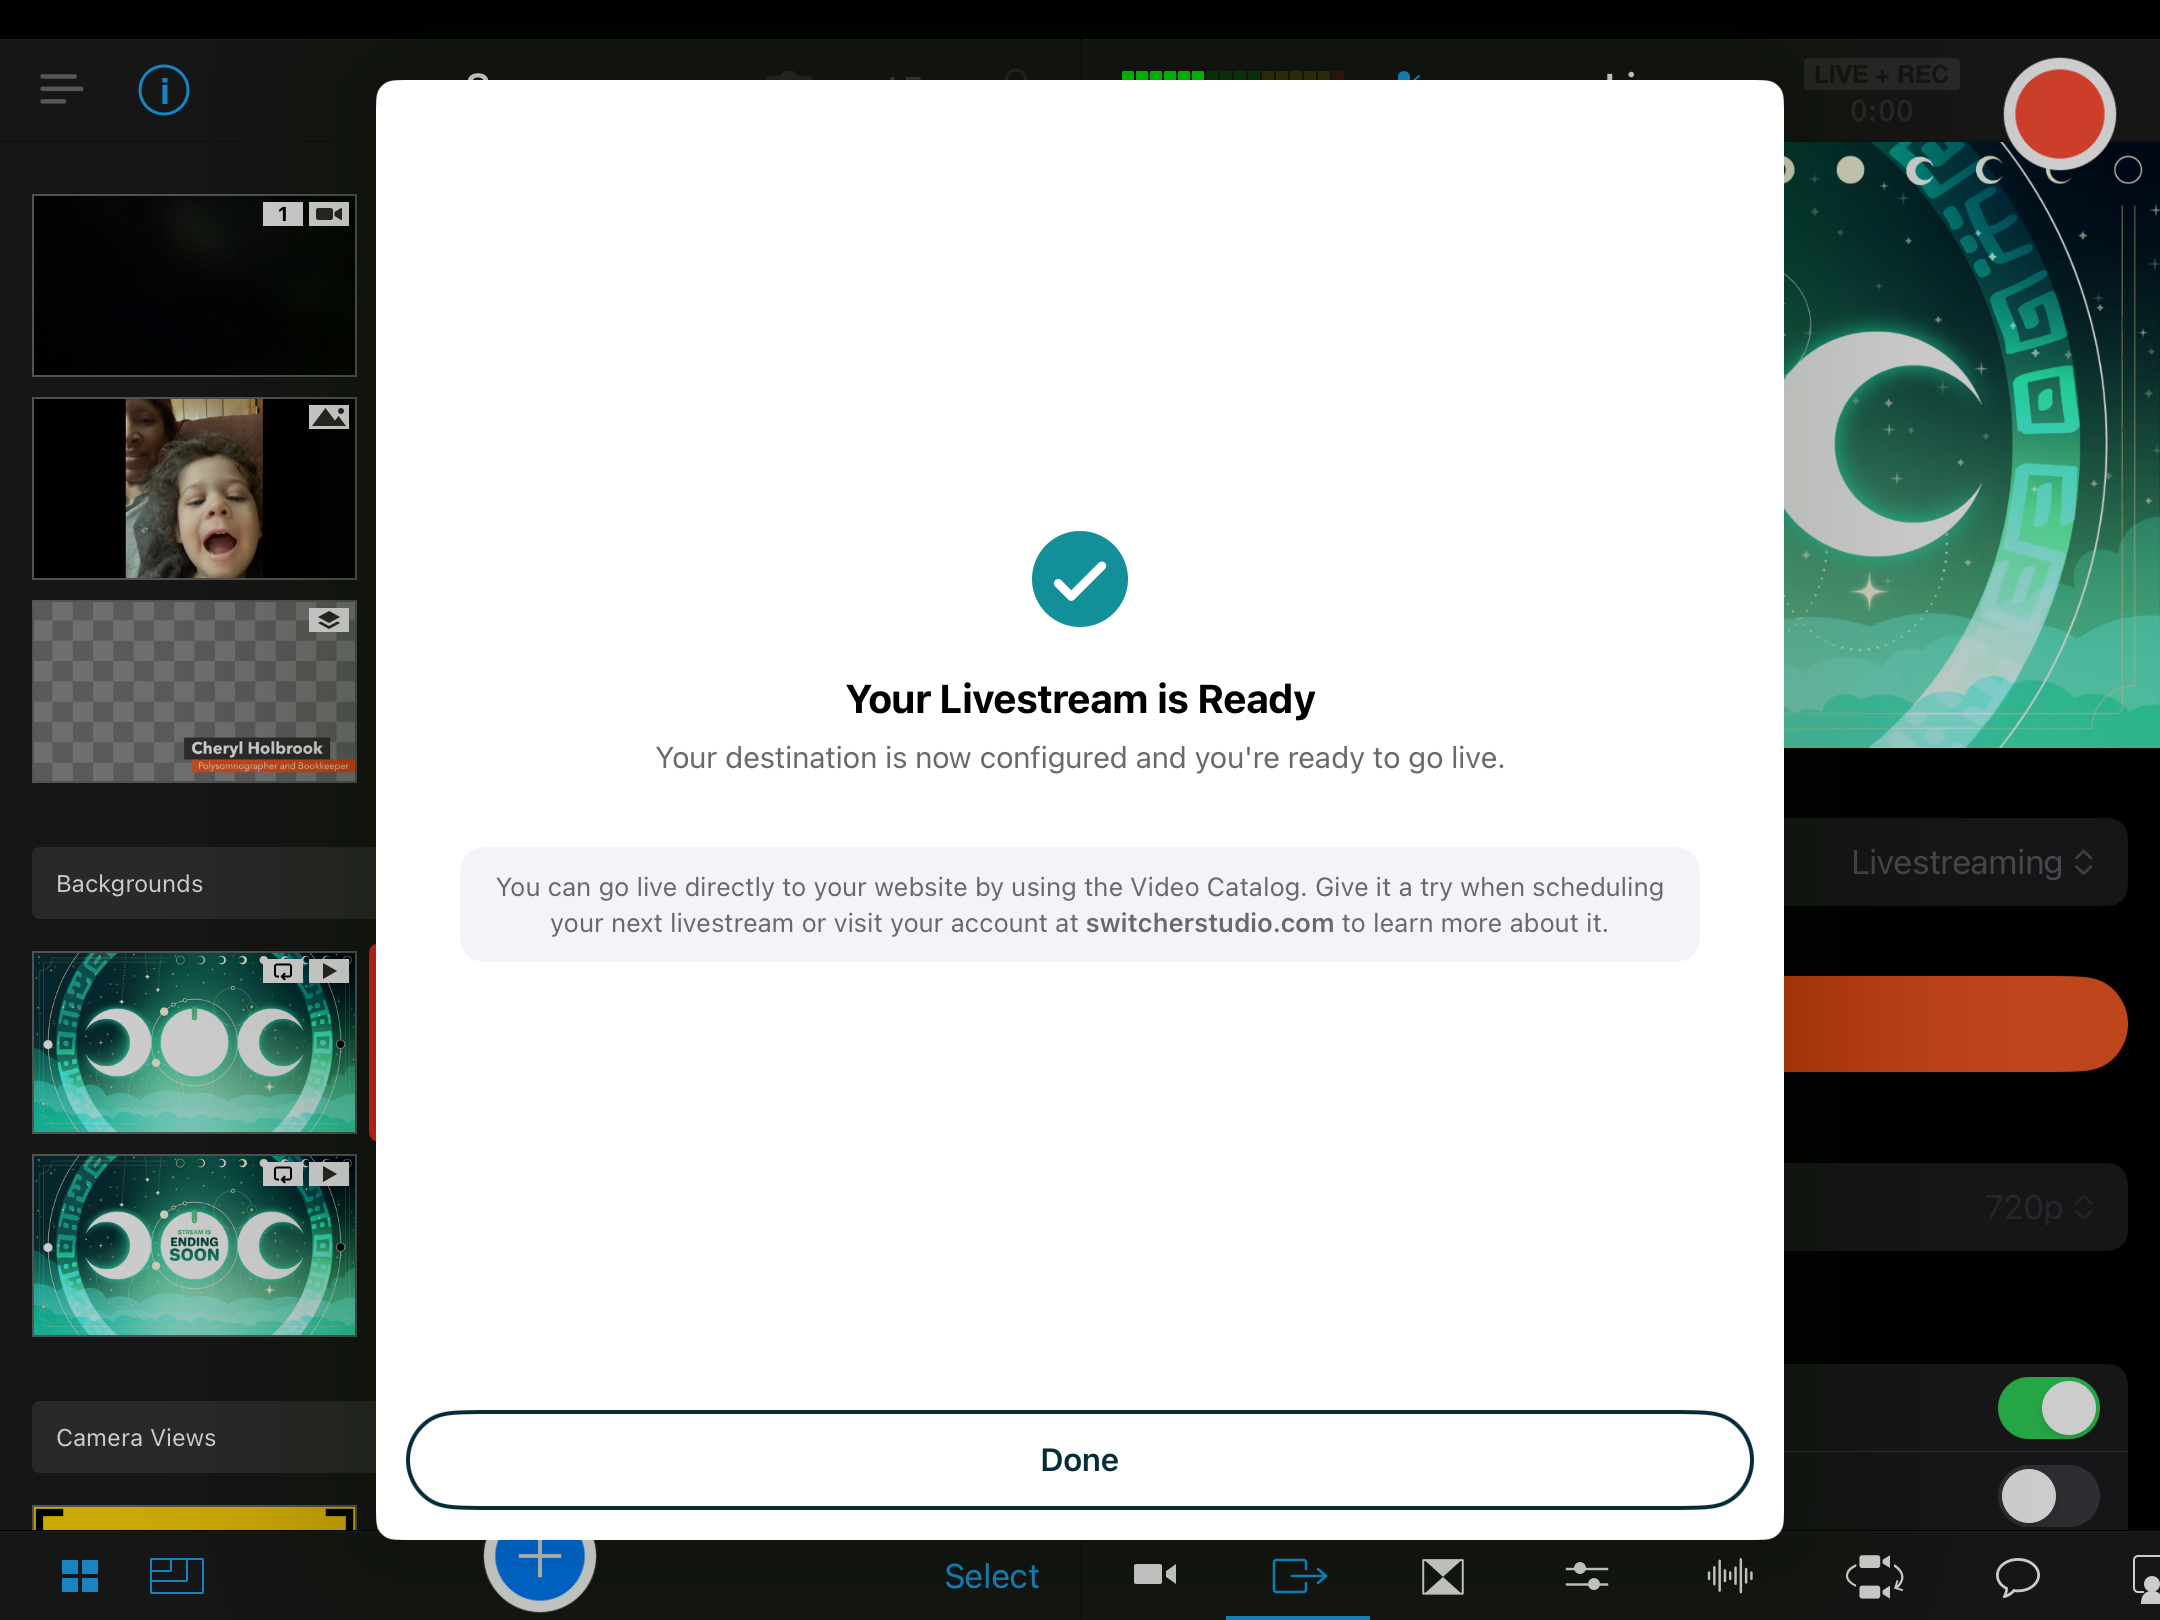
Once you've run the Speed Test, tap on Done in the top right corner of the Speed Test window, and then tap the orange Create Livestream button.
In the Outputs tab, you'll see your stream event saved, as well as the stream quality that you/Switcher selected.
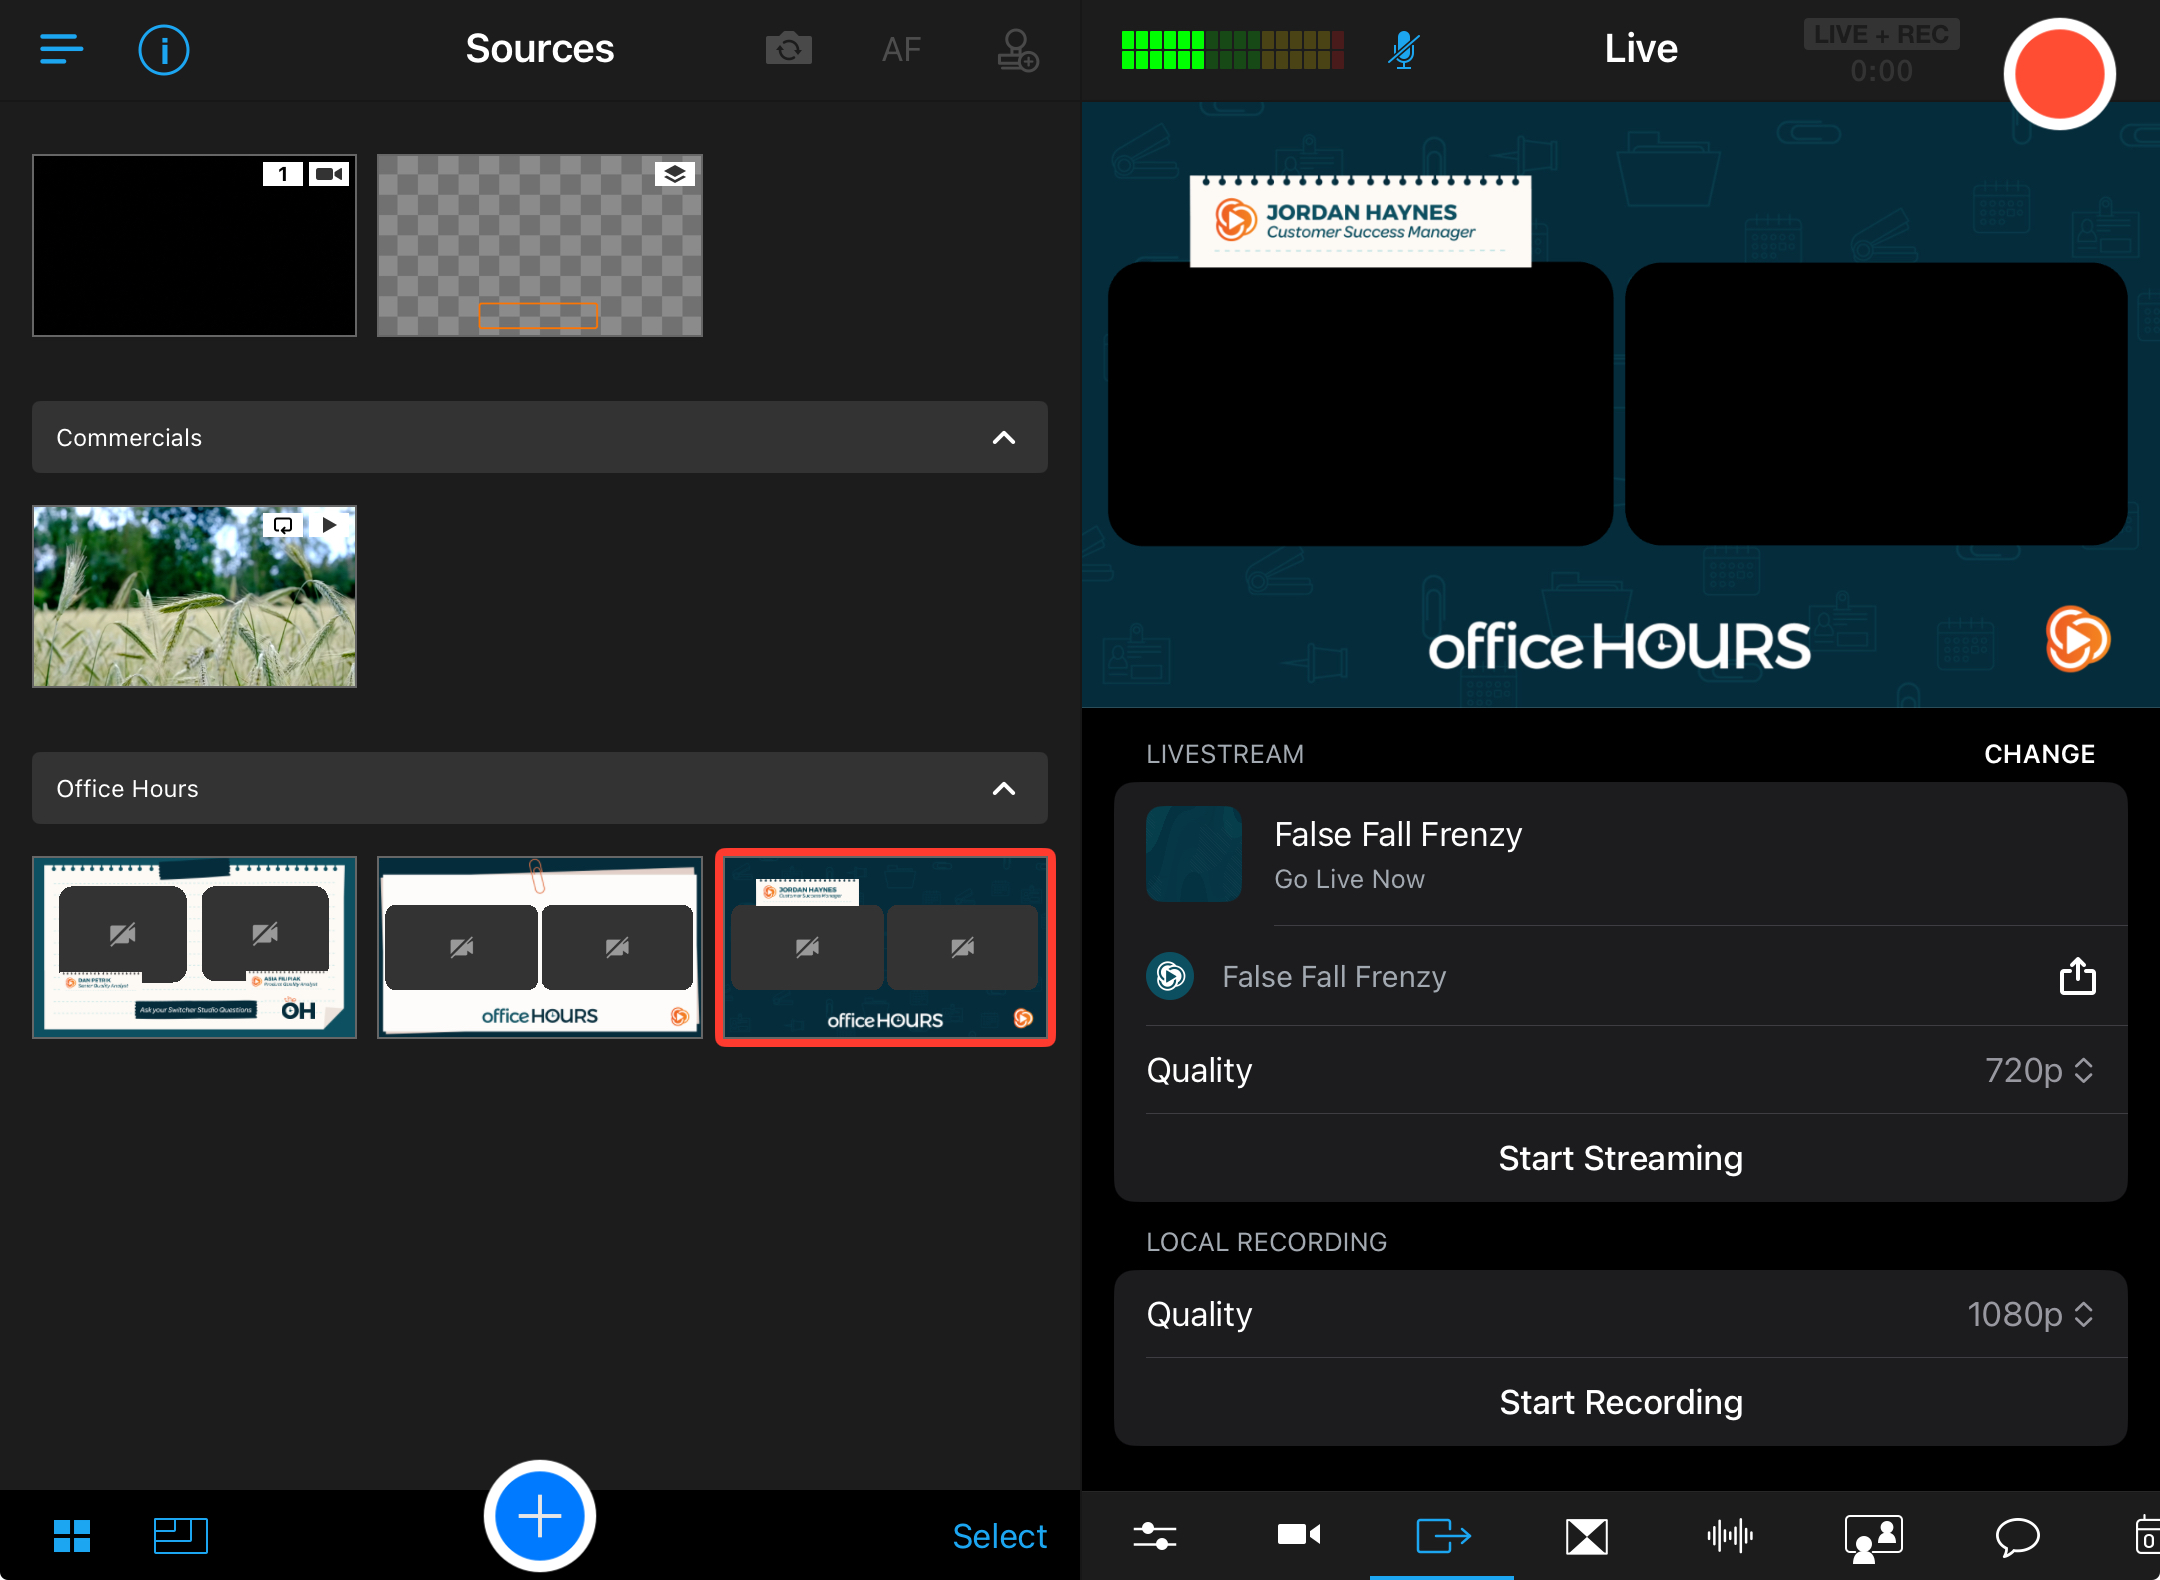
Tap on the recording quality to change it to a different setting.
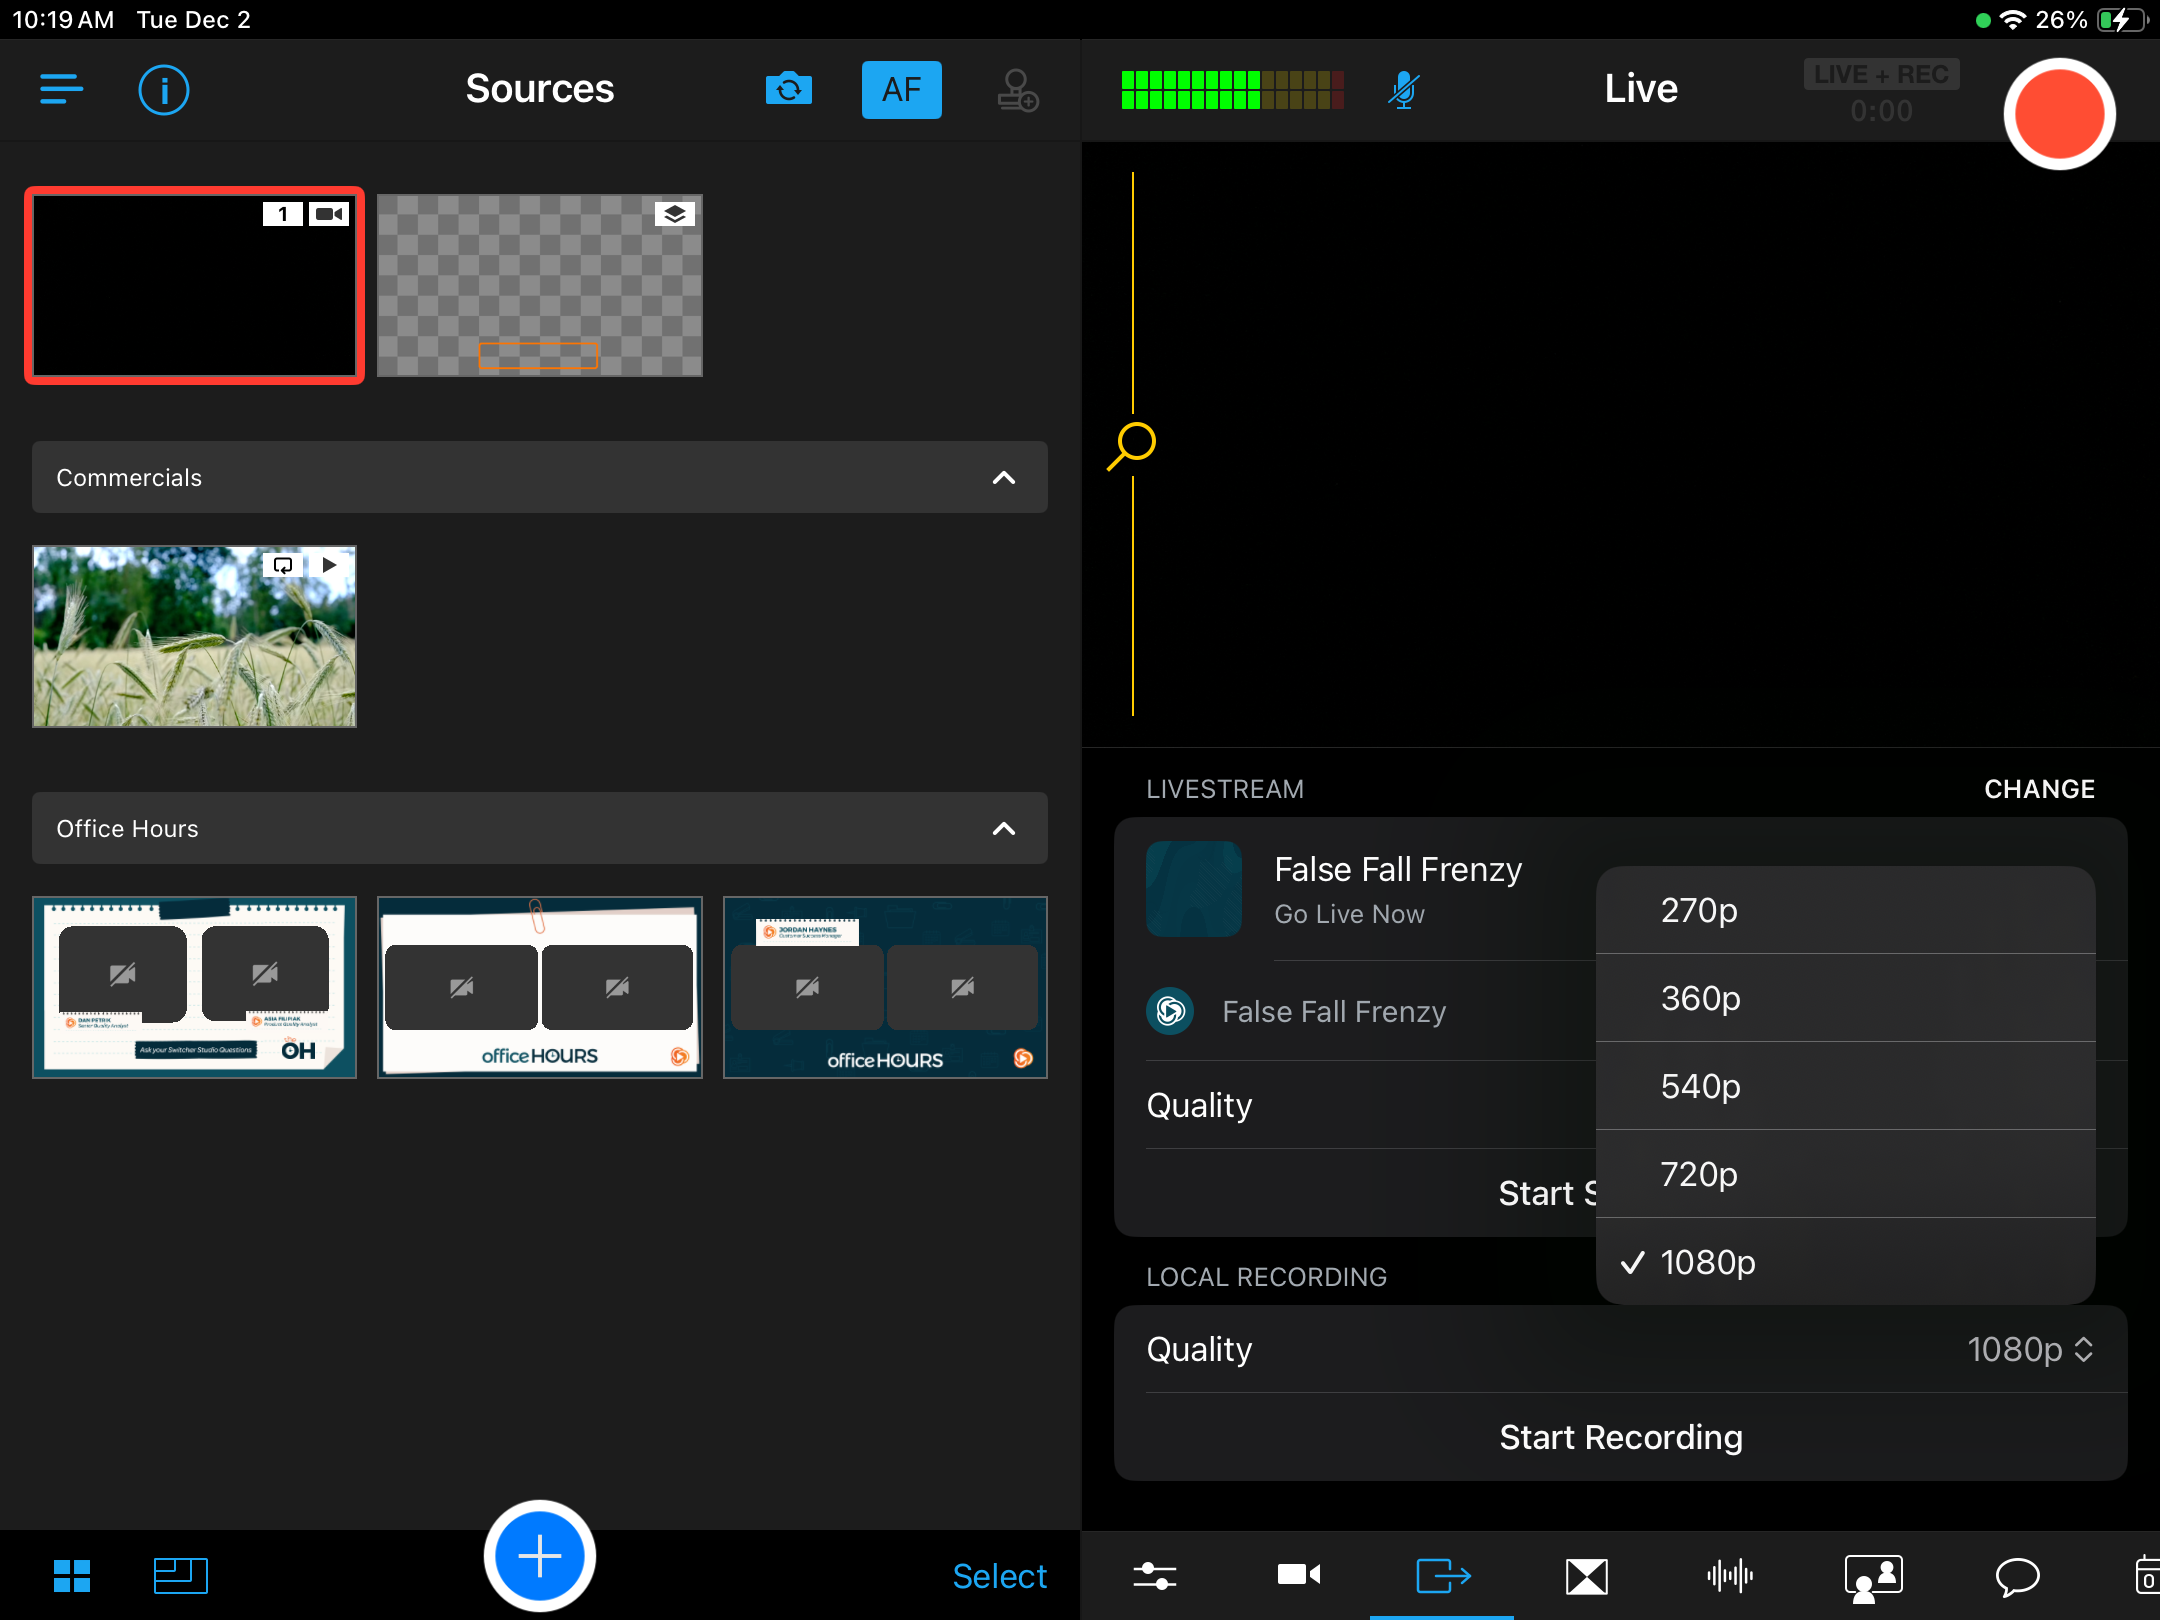
You can also change the stream quality from the Outputs tab, too.
Once you've adjusted the stream quality and the recording quality to your desired settings, you're all set to go live! Tap on the big red button in the top-right corner when you're ready, and happy streaming 🙂