Logo & Image Overlay Assets
There are three Asset types that allow you to import image files that are not full-screen assets:
-
Logo
-
Image Overlays
-
Image as Lower Third
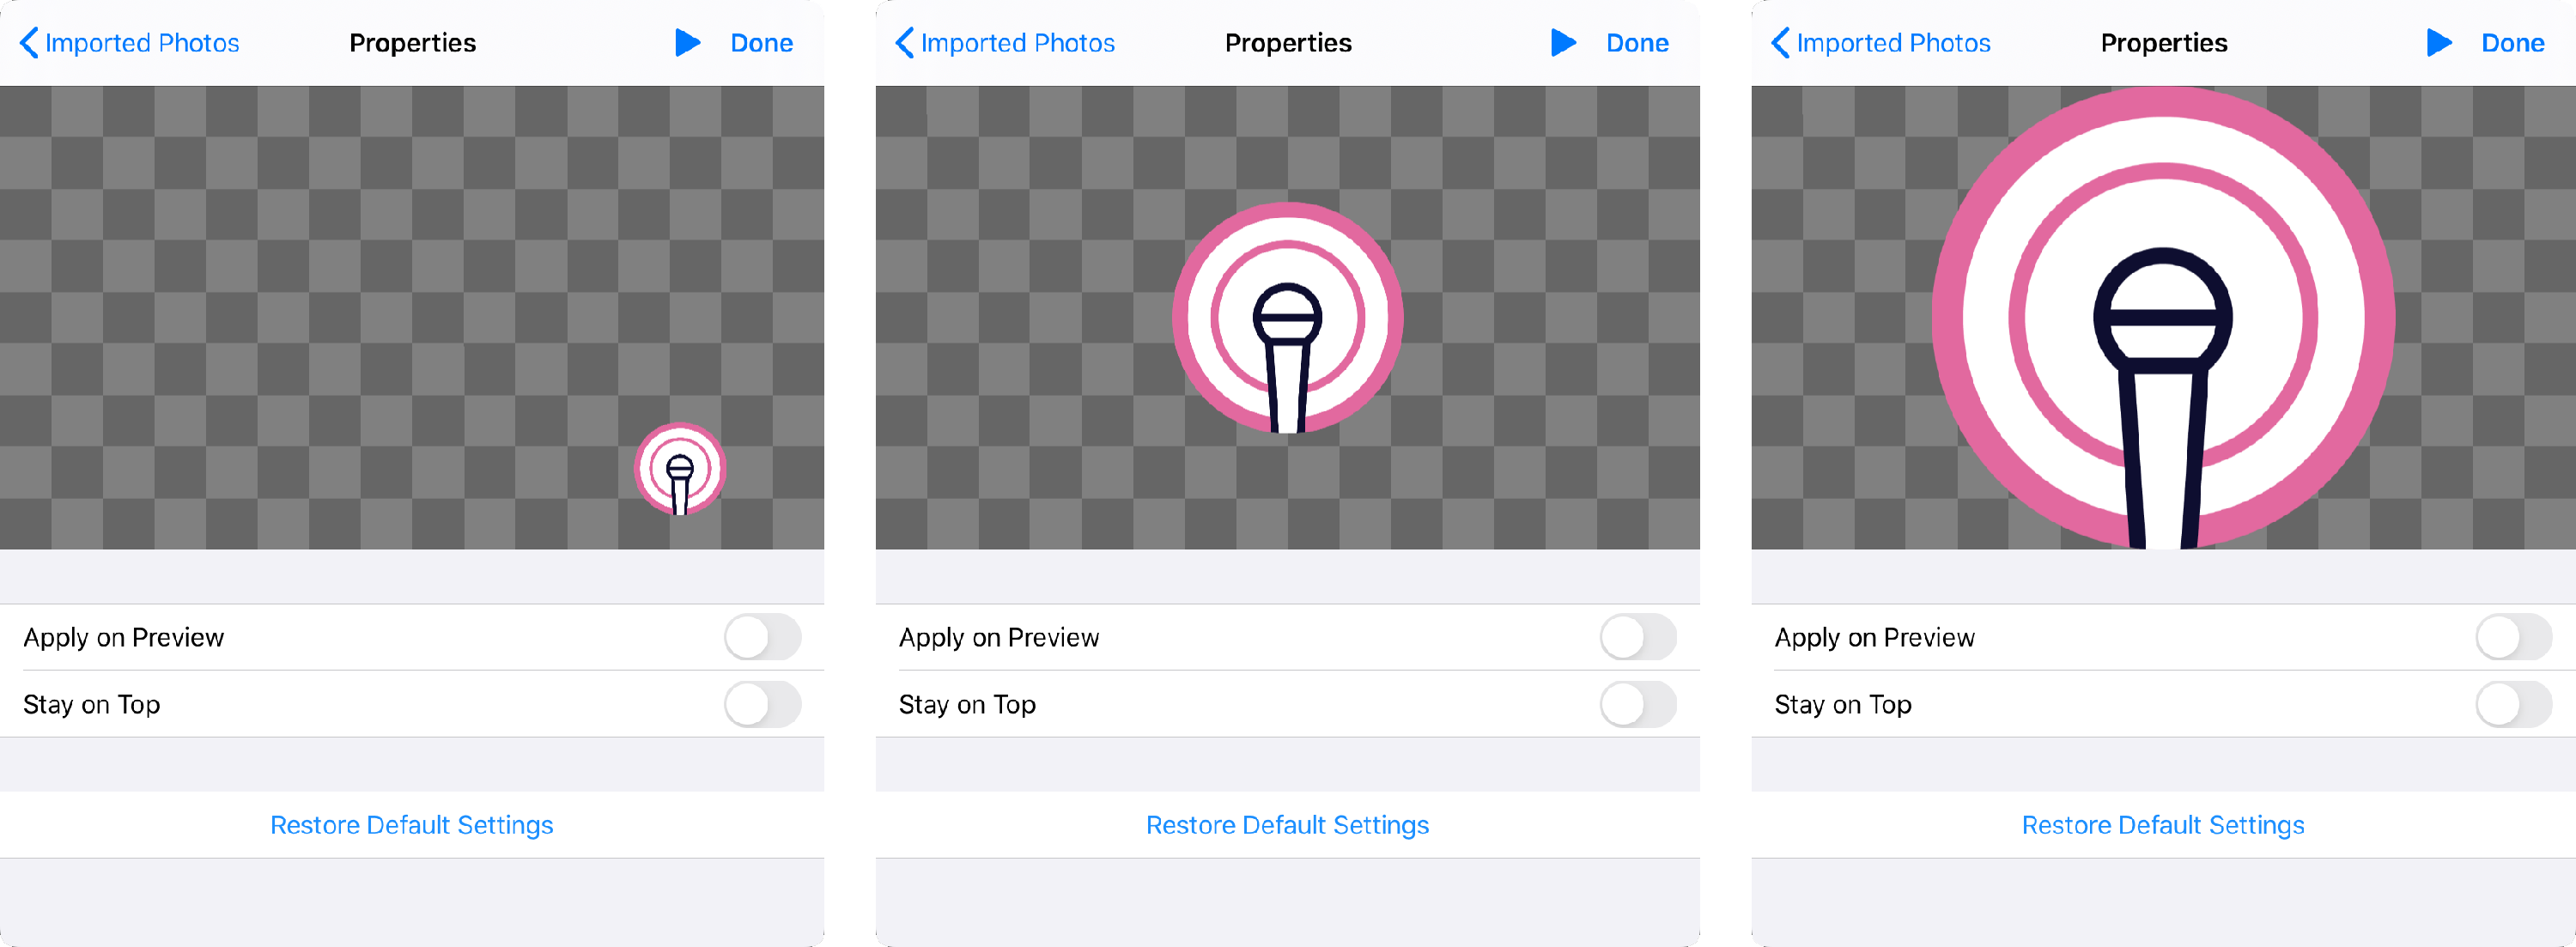
The only differences between the three Asset types are the default position and size of the imported image. Here is a comparison:
-
Logo: small corner bug in lower right-hand corner
-
Image Overlays: larger than logo, placed in center of screen
-
Image as Lower Third: largest, placed in center of screen.
Logo vs. Image Overlay vs. Image as Lower Third
Importing Image Files into Switcher
You can import .png or .jgp. files using the following options:
-
Files saved to your device
-
Switcher Cloud
If your file is in Google Drive or Dropbox, you'll want to follow the instructions specifically for those platforms, which are linked above.
If you're importing your image from your device or using Switcher Cloud, the instructions vary slightly depending on which asset type you are creating. The general instructions are outlined below.
Accessing the image file
-
From the main switcher, tap the blue + button, which is located at the bottom of the Sources / Production panel.
-
Tap Image Overlays or Text & Graphics > Image Overlays/Image as Lower Third
-
Tap the source where your file is stored (Photo Library, Switcher Cloud, etc.)
-
Tap the file you'd like to import.
Understanding and adjusting the Asset Properties
Once you've selected the image file you want to import, you will see a Properties modal window that allows you to adjust the following settings:
-
Apply on Preview: This option is only relevant if you are using the Preview window during your production. If enabled, the Asset will appear in the Preview Window first and you will need to tap Preview -> Live to show the graphic. If it is not enabled, the Asset will go straight to the Live window when you tap it.
-
Stay on Top: When enabled, the Asset will always remain in the foreground on the screen.
You will also be able to adjust the size of the image and the on-screen location as follows:
-
Adjusting the size: Using two fingers, pinch out on the image to make it bigger. Pinch in on the image to make it smaller.

-
Adjusting the on-screen location: Tap and drag the image to your desired location on the screen. Or use the alignment tools to align the image vertically or horizontally.
When you are satisfied with the settings, tap Done in the top-right corner of the Video Properties window. Your Asset will appear as a thumbnail in your Sources / Production panel.
Using Logos, Image Overlays, & Image as Lower Third Assets during your Production
-
When you want to display one of these Asset types during your video, simply tap the thumbnail in the Sources / Production panel.
-
The Asset will appear as an overlay atop a camera view or full-screen asset.
-
To remove the Asset, tap the thumbnail in the Sources / Production panel.