Paid Ticketed Event on Facebook
If you have a Facebook Page, you can set up a paid ticketed livestream and use Switcher Studio to stream to the event. There are three primary steps to this process, which are outlined in detail below:
This articles walks through the process of setting up and streaming to a paid event. For more information about Facebook's paid online events, check out their Help Center here.
Creating a Ticketed Livestream Event on Facebook
Currently, paid online events can only be created on a computer at Facebook.com, and they are limited to Pages. Log into Facebook, and follow the steps below to create a ticketed event:
-
Navigate to the left side of the Page and click Events.
-
Click Create Event.
-
Click Online.
-
Click Paid.

-
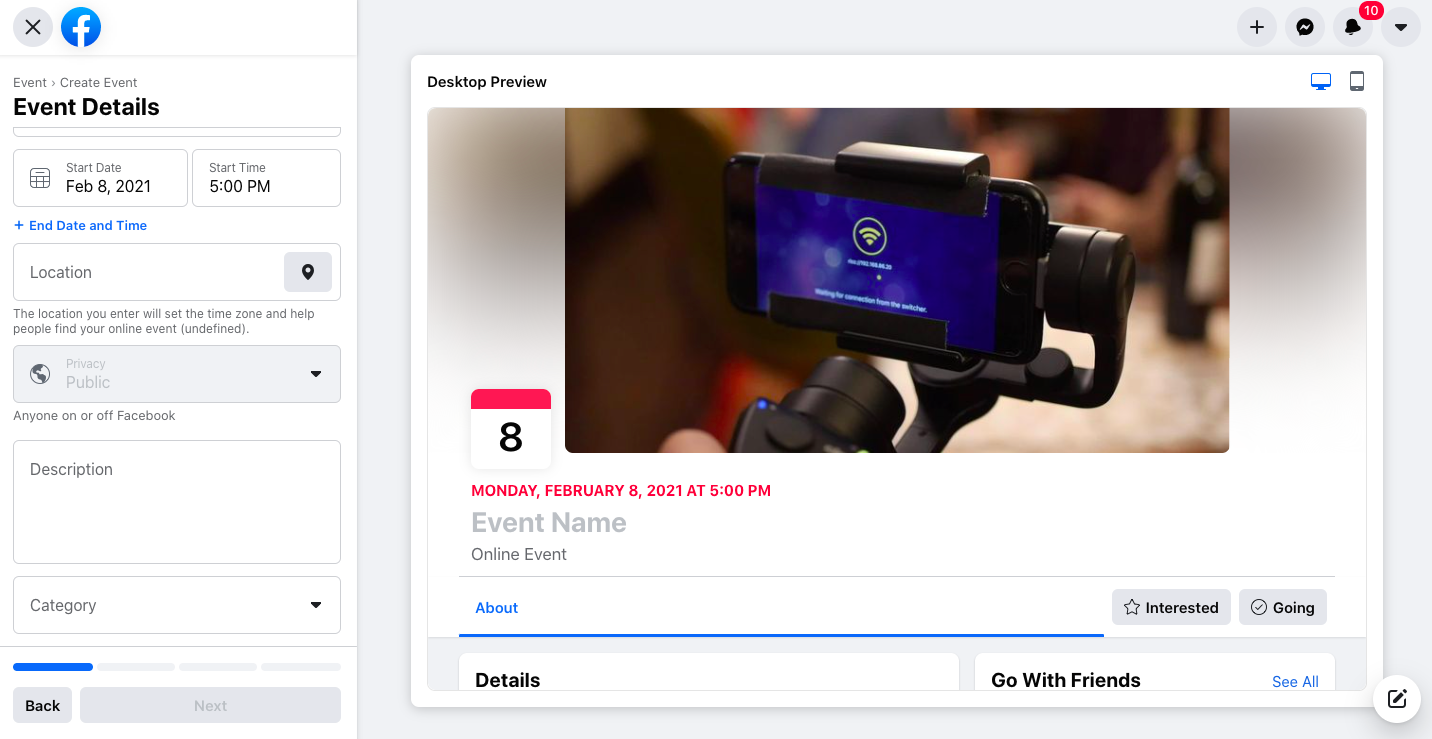
Complete the fields below Event Details.
-
Click Next.
-
Choose Facebook Live as the Location.
-
Click Got It when the modal window appears.
-
Click Next.

-
Click anywhere in the Choose a Price box, and a dropdown will appear.
-
Select your desired ticket price.
-
If desired, use the toggle buttons to enable and set the available options.
-
Click the Next button at the bottom of the page.
-
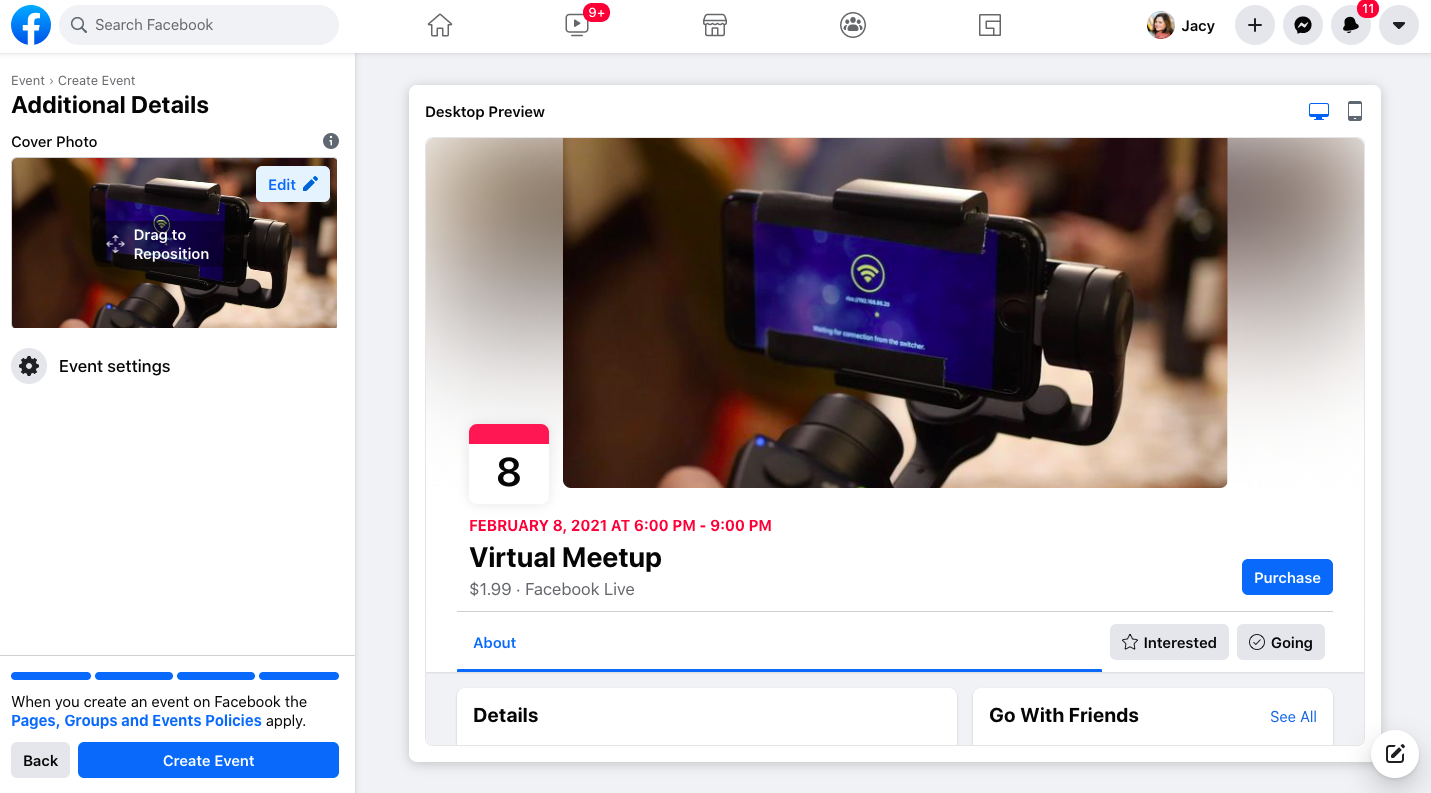
If you'd like to change or add a cover photo click Edit on the photo preview.
-
Click Event Settings to review and adjust additional settings, such as adding co-hosts and enabling post approval.
-
When you're happy with the settings, click the Create Event button.
Setting up a Custom RTMP Channel for the Ticketed Event
To set up a Custom RTMP channel, you first need to locate, then copy + paste the Stream Key and Sever URL from Facebook into Switcher Studio.
-
Go to your Facebook page and find the scheduled event.
-
Click the Set up Live Video button on the post.
-
Click OK on the modal window.
-
Click the down arrow below the live window to see more settings.
-
Click Use Stream Key.
-
The Server URL and Stream Key will be shown in the Live Stream Setup box.
Keep this page open as you continue to the next section, where you'll set up Custom RTMP in the Dashboard.
Once you have the Server URL and Stream Key pulled up in Facebook, you will need to use these values to create a Custom RTMP channel in the Switcher Studio Dashboard. This article provides step-by-step instructions: Setting up a Custom RTMP Channel in the Switcher Studio Dashboard using Facebook values
Streaming to the Event with Switcher Studio
When you are ready to start the livestream, you will select the Custom RTMP channel you created as your Output in the Switcher Studio app. Here is the detailed outline of the process: Initiating the Facebook Livestream in the Switcher Studio App
Note: Depending on how you set up the event on Facebook, you may need to initiate the broadcast on Facebook as well as Switcher Studio. Make sure you confirm that the broadcast is actually live after tapping the big red button in Switcher Studio.