Creating A Facebook Page For Test Streams
Livestreaming to Facebook with Switcher Studio can drastically improve the quality of your streams, but it's important to feel comfortable when you are going live to your public audience. A great way to test run your production with Switcher Studio is by creating an unpublished Facebook Page, where only you and any other Page admins can see the stream.
In this article:
Creating a Test Facebook Page
To create a test Facebook Page:
Go to Facebook.com in a web browser.
Be sure you are logged into your personal Facebook account.
Click See All in the left sidebar.
Below the Create section, click Page.
Enter a name for your test page, i.e. Test Page.
Enter a category, i.e. Clothing Store.
Click Create Page.
You will receive a notification that the Page was created.
If you would like, you can add an profile picture and cover photo.
Click Save.
You may be redirected to connect to WhatsApp, which you can close to disregard.
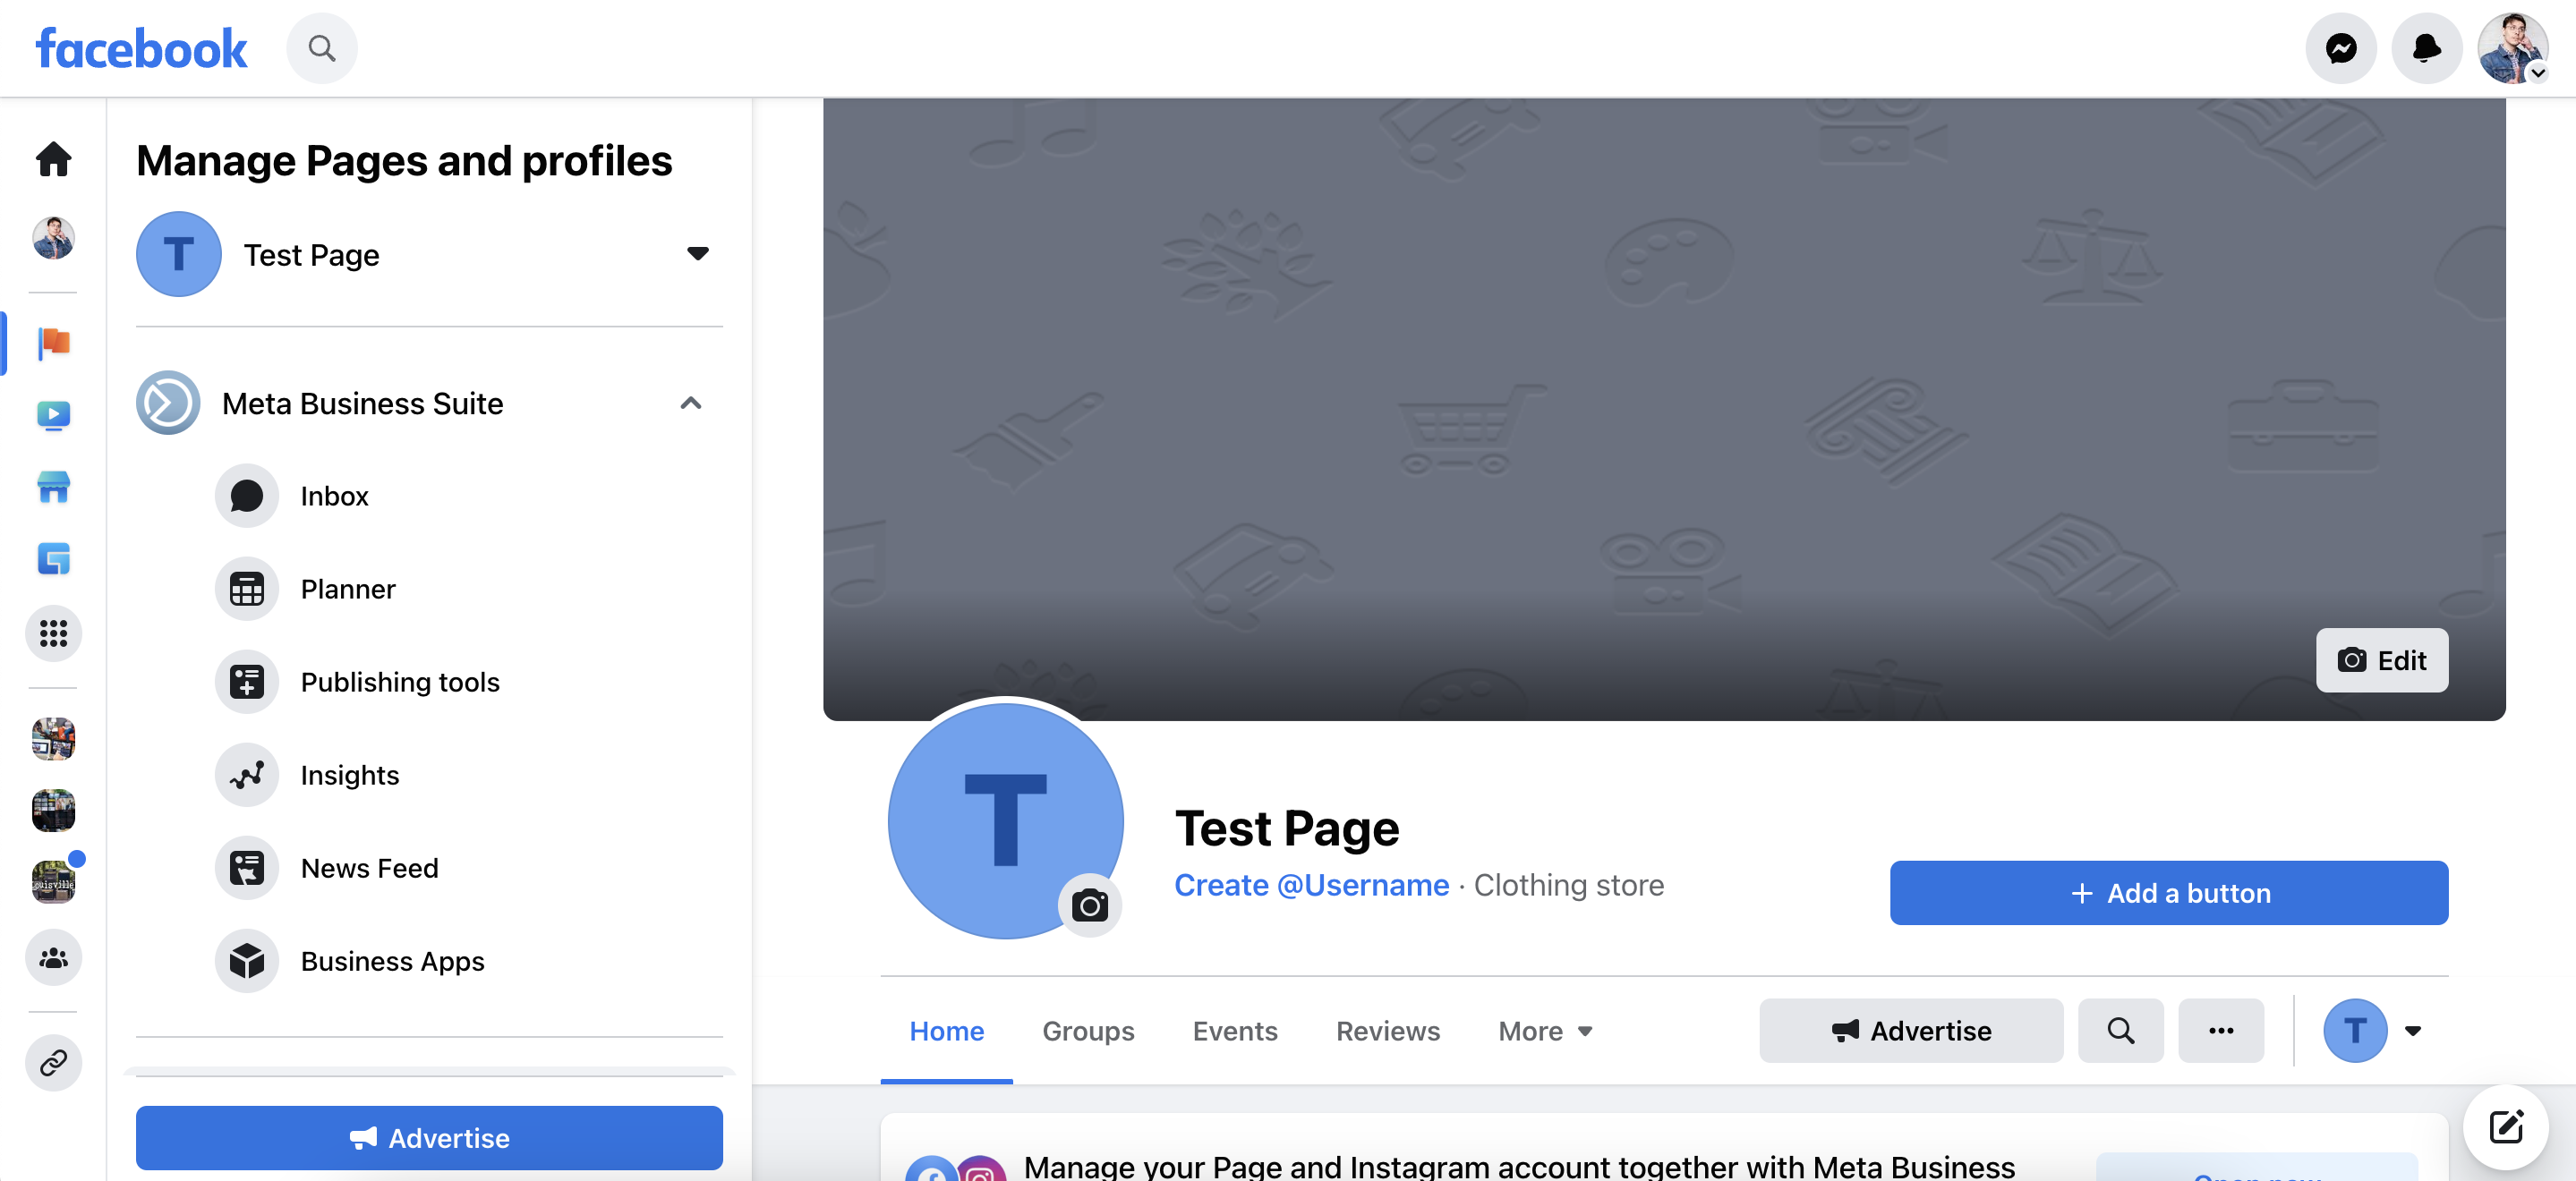
Scroll down in the Manage Pages and profiles section and click Settings.
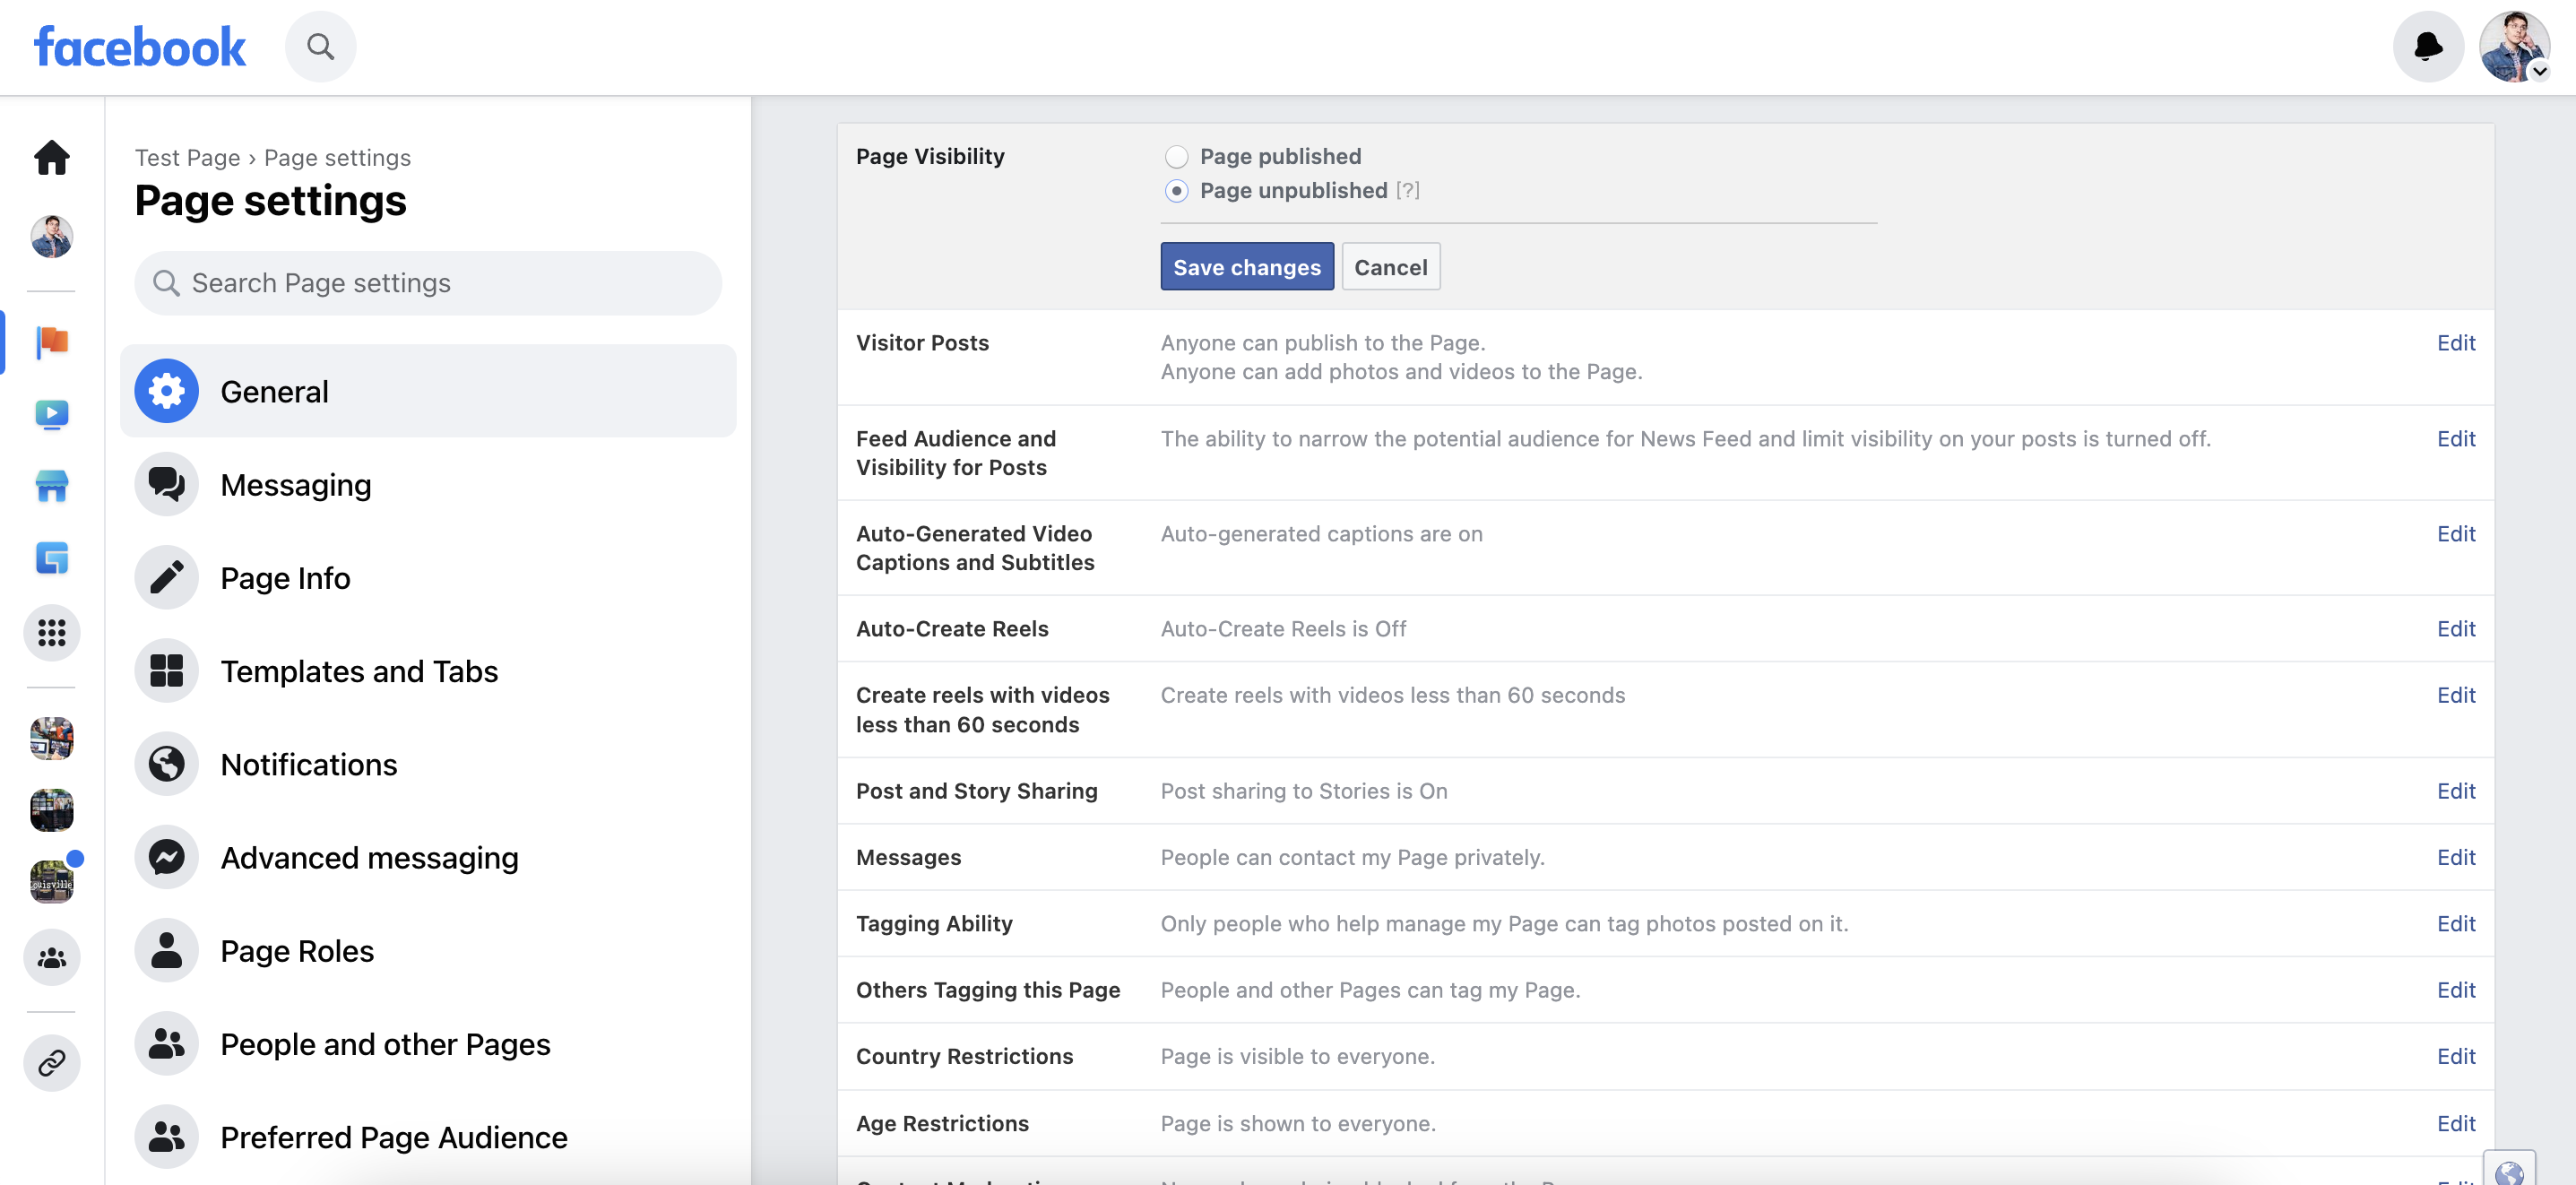
Click Edit next to Page Visibility.
Click Page Unpublished.
Click Save Changes.
Unpublishing Your Test Page
You will now be brought to your new Facebook Page.By Default, Facebook makes new pages public. By unpublishing the page, only Facebook profiles that have a role (i.e. admin) on the Facebook Page will be able to see it.
Scroll down in the Manage Pages and profiles section and click Settings.
Click Edit next to Page Visibility.
Click Page Unpublished.
Click Save Changes.
Assigning Roles on Your Test Page
If there are other people you would like to have access to your test page so that they can give feedback on the test streams, now is a great time to do it. However, if you want to keep yourself as the only person with access to the page, jump ahead to Going Live to Your Test Page.
From the Page settings:
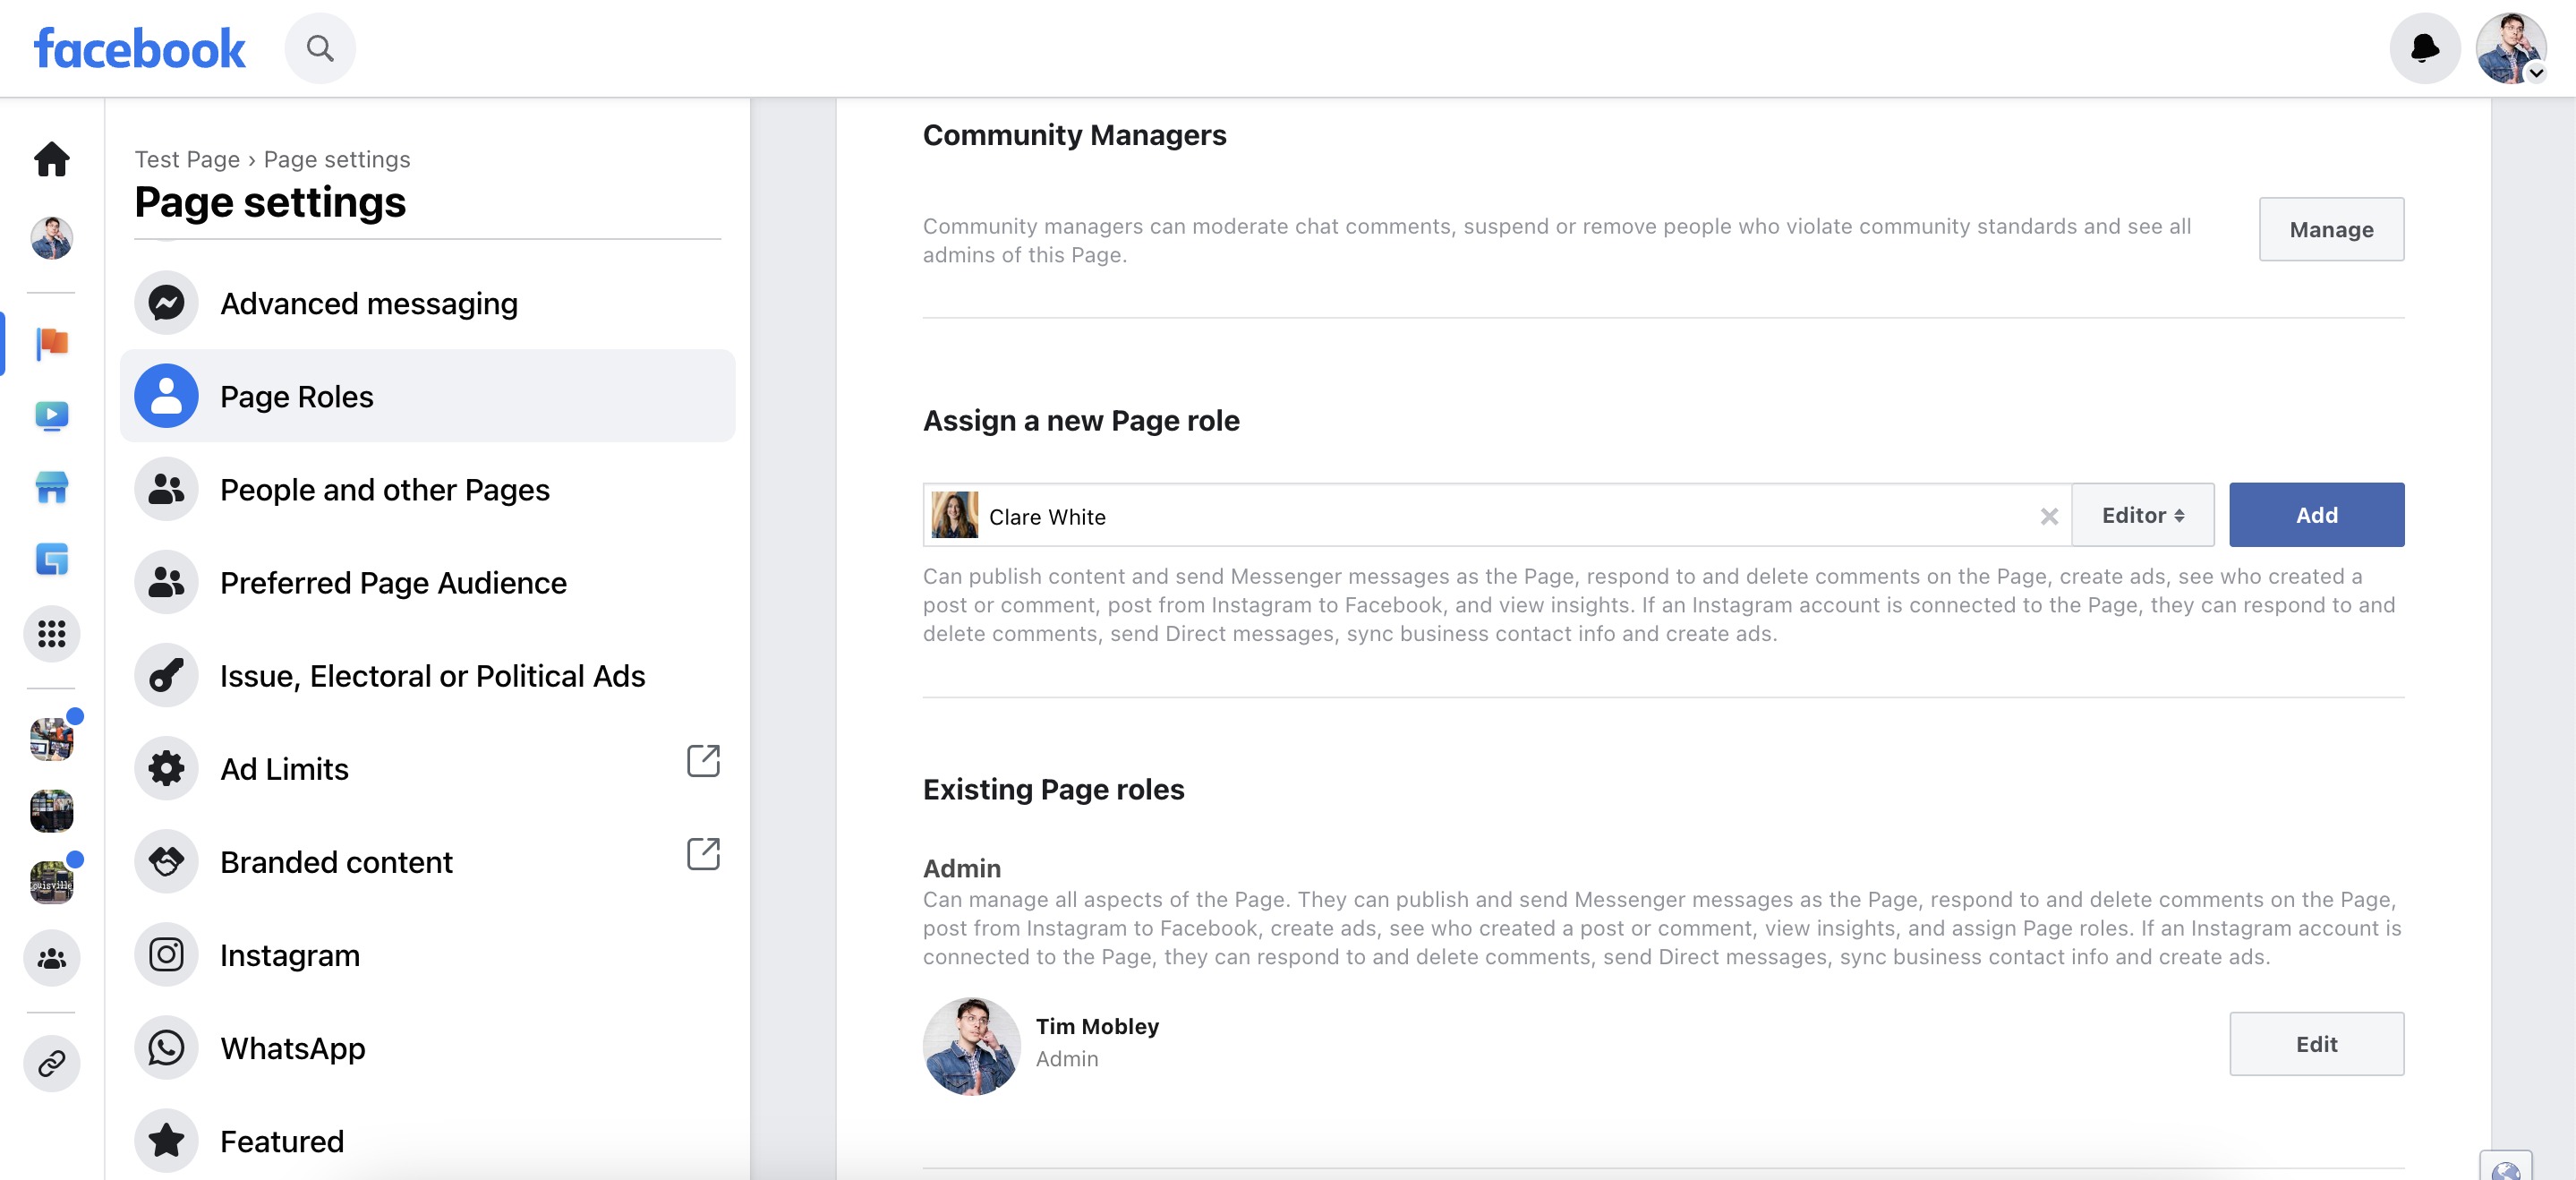
Click Page Roles in the left sidebar.
Enter the name of the person you would like to grant access to under Assign a new Page role.
Click their Facebook profile when it appears in the dropdown.
Select the role you would like the person to have.
Admin is full access, and Editor allows them to post and make changes to the page.
Click Add.
Going Live to Your Test Page
Now that you have created your test Facebook Page, set it as unpublished, and configured your Page Roles, you can go live using Switcher Studio. As a reminder, only you and the people you have granted page roles to will be able to see the livestream.
To go live to your test page:
Open the Switcher app on your iOS device.
Tap the Outputs tab (box and arrow icon) in the bottom-right corner.
Tap the blue arrow next to Facebook.
If your Facebook account is not currently connected, log in.
Tap Page.
Tap your test page.
Enter a title.
Tap Save.
A blue checkmark will now appear next to Facebook in the Outputs tab.
When you are ready to go live, press the red circle in the top-right corner.

Keyword(s): test, Facebook, Page, role, admin, editor, Switcher, Studio