Streaming to YouTube With Switcher Studio
Switcher Studio's YouTube integration allows you to easily stream to your YouTube channel. This article outlines the requirements and work steps to set up and start your livestream to YouTube using the Switcher Studio application on iOS.
In this article:
YouTube Livestreaming Requirements
NOTE: As of October 2024, YouTube mandates that Channels have at least 50 subscribers to live stream via mobile apps, including the Switcher app. If your Channel does not show as an available destination, check to see if your subscriber count has not met this threshold yet!
Enabling Livestreaming on YouTube
Before going live on YouTube, either directly or with Switcher Studio, you must enable livestreaming on your YouTube account. This is usually a one-time process.
Note: It can take up to 24 hours for YouTube to enable livestreaming.
Instructions:
-
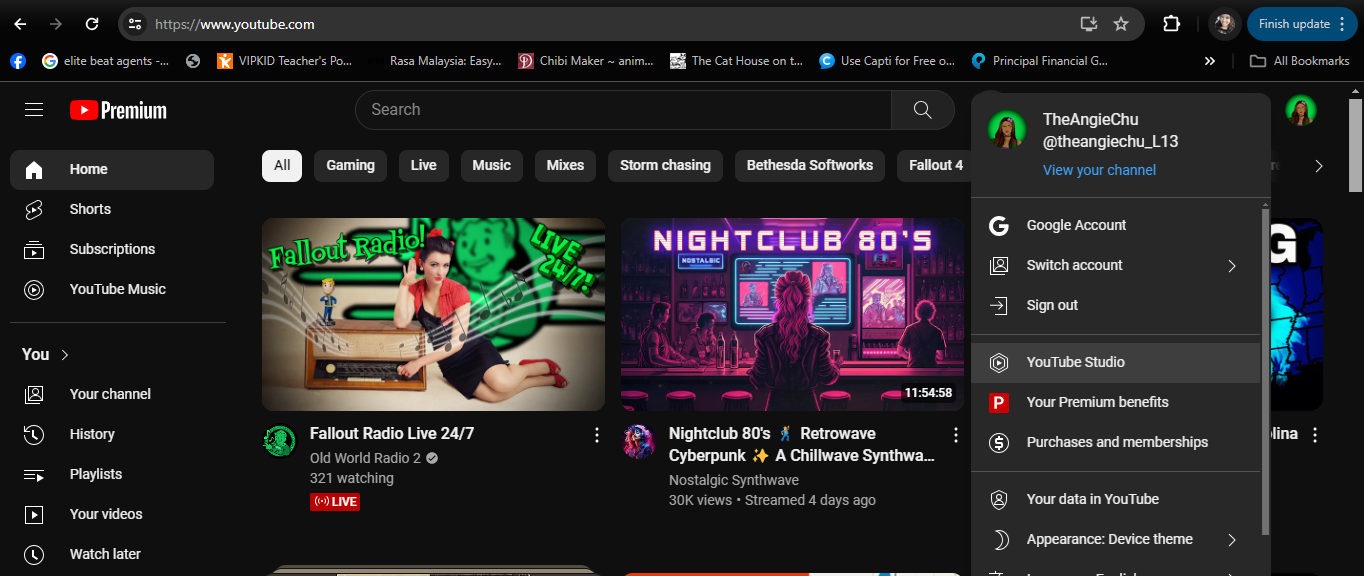
Go to YouTube.com on a computer.
-
Log into your account.
-
Click on your profile icon in the top-right corner of the webpage.
-
Choose YouTube Studio.
-
Click on Settings via the menu on the left-hand side of the screen.
-
Choose Channel, followed by Feature Eligibility.
-
Enable "Standard Features" and "Intermediate Features".
-
-
Once verified, the window will display "Ready in 24 hours".
Linking Your YouTube Account to Switcher Studio
You can link your YouTube account to Switcher Studio either directly through the Switcher Studio iOS app or the Switcher Dashboard. Many people prefer the Dashboard option because they can use a computer (and if you're already logged into YouTube, it makes the setup easier!)
Note: The YouTube linking authorization expires occasionally. If you receive an error message about a user token, or if you are prompted to relink your account, you can easily relink via the Dashboard or the iOS app.
Linking a YouTube Account Using the Switcher Studio Dashboard
-
Go to the Switcher Studio Dashboard in a web browser.
-
Click Platforms from the left sidebar.
-
Click the Connect button next to YouTube.
-
Click Connect Account.
-
Select the email address associated with your YouTube channel.
-
If you are not already logged into YouTube with that email address, you will be prompted to enter your Google password.
-
-
Click Allow.
-
You should receive a confirmation message that your account has been linked. If you are streaming right away, click Continue to move on to the next step. Otherwise, you can exit out of the Dashboard.
-

Linking a YouTube Account Using the Switcher Studio App
-
Go to the Outputs tab on your main Switcher device (box with arrow icon).
-
Next to Broadcast Mode choose Livestreaming.
-
Tap the orange New Event button or (if there is already an event displayed) the grey Change button and then New Event.
-
Tap the Connect Account button.
-
Select or enter the Google account associated with your YouTube channel.
-
If the account you want to use isn't shown, tap Use Another Account.
-
If prompted, enter the password for your Google account.
-
-
Tap Continue to allow YouTube Access.
-
Tap Continue.
-
A message will display indicating that your account has been linked.
-
Configuring the Livestream
- Open the Switcher Studio app on your main switching device.
- Go to the Outputs tab (box with arrow icon).
- Next to Broadcast Mode, choose Livestreaming.
- Tap on the orange "New Event" button.
- Choose whether you want to Create New Event (for a brand new streaming event) or to Use Existing Scheduled Post (and import an event you've already created on facebook.com or youtube.com)

- Tap on the YouTube icon, and choose your YouTube Channel
- You'll be taken back to the Destinations window. Tap on any other destinations (if you plan to Multistream), and then tap the orange "Next" button at the bottom of the window when you're finished selecting your destination(s).

- If you need to update these initial stream details later, tap on the ellipsis icon (...) beside your YouTube destination, and choose "Edit".

- You can then update your YouTube destination settings.

- After you've tapped on the orange Next button, you'll be taken to the Event Details page. Start off by adding a Title and a Description for your stream.
- If you have a custom image you intend to set as the stream's thumbnail, tap on the pencil icon in the Thumbnail image to select any image from your Photos app.
- Tap on the dropdown menu in the Stream Schedule to choose whether to Go Live Now, or to Schedule For Later.
- Note: If creating a live video on YouTube to later be streamed through Switcher Studio, the latency setting on YouTube must be set to Normal.
- Tap the Stream Quality dropdown menu to run a speed test and select your desired video resolution.
- Tap on the toggle to choose whether or not you'd like to save this video to your Video Library.
- NOTE: The available number of videos in your Video Library is determined by your subscription type. Once you are near your limit, you will receive a banner in the Switcher app and Dashboard alerting you of the upcoming limit.
- Free Trial: 3 videos
- 7-Day Pass: 10 videos
- Studio: 10 videos
- Business: 100 videos
- Merchant: 100 videos
- Plus: 150 videos / 50 per user
- NOTE: The available number of videos in your Video Library is determined by your subscription type. Once you are near your limit, you will receive a banner in the Switcher app and Dashboard alerting you of the upcoming limit.
- Tap the orange Create Event button at the bottom.

- You'll now see the title of your YouTube stream appear in the Outputs tab with the chosen YouTube destination.
- When you're ready to go live, tap the big red button in the top-right corner. Happy streaming!

YouTube Settings - For Youtube.com Configuration Only
We recommend using the instructions above to create the livestream with Switcher Studio's YouTube integration. However, if you decide to create the stream directly on YouTube.com instead, and then use Switcher Studio to manage the stream, there are a few key settings to change:
Enabling Auto-Start & Auto-Stop
-
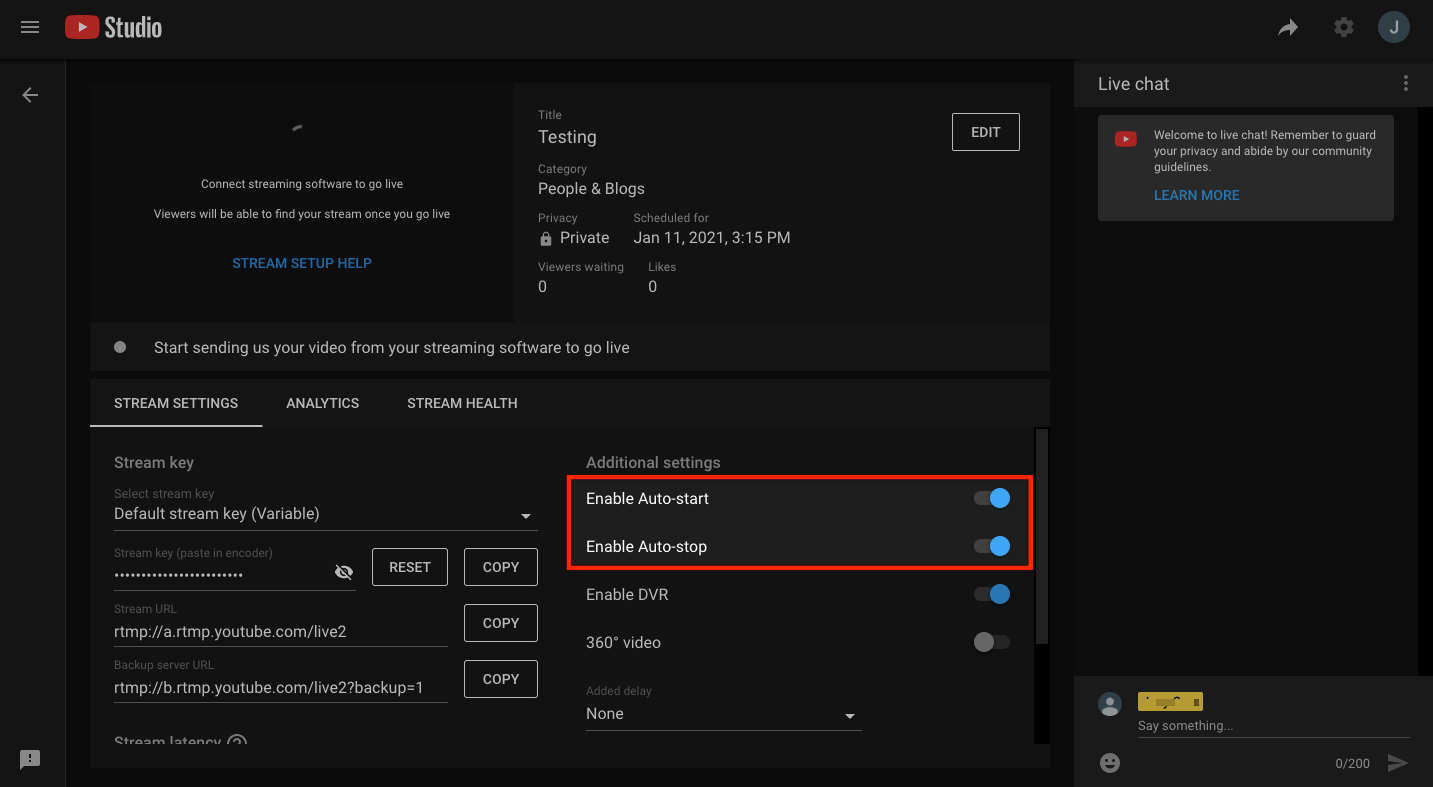
If you schedule a stream on YouTube.com, you will need to turn on the Enable Auto-Start and Enable Auto-Stop options.
-
If you are using Custom RTMP to stream to YouTube, you'll need to turn on the Enable Auto-Start and Enable Auto-Stop options.
Note: If these options are not enabled, your stream will not start/stop on YouTube unless you manually initiate/end it on YouTube.com.
To enable Auto-Start & Auto-Stop:
-
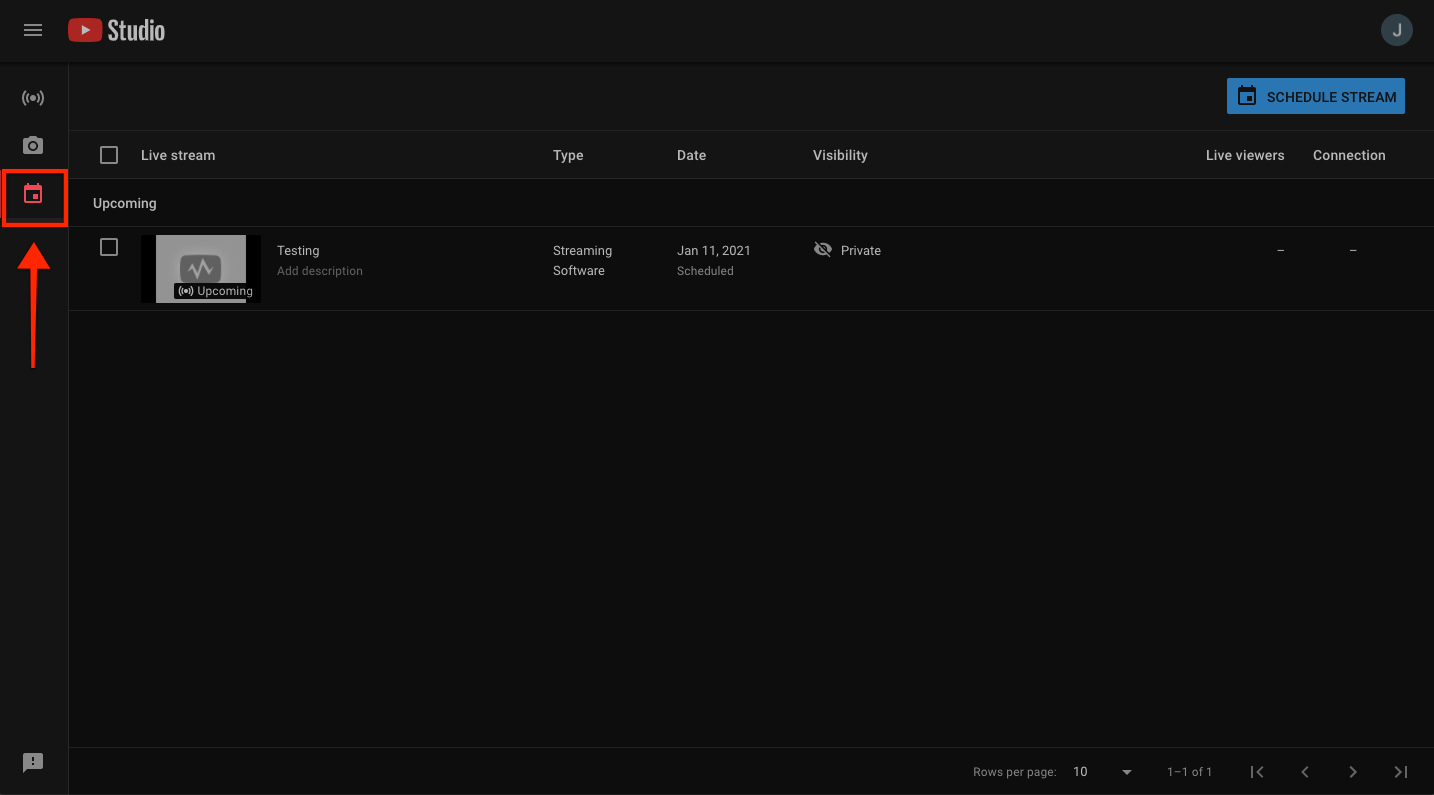
Go to the Live Control Room for your YouTube channel.
-
Click the calendar icon in the left-hand menu to manage your streams.
-
Click the title of the stream you want to edit.
-
Click the toggles next to Enable Auto-Start and Enable Auto-Stop.
-
When they are enabled, the buttons are blue and to the right.
-
Related Videos
